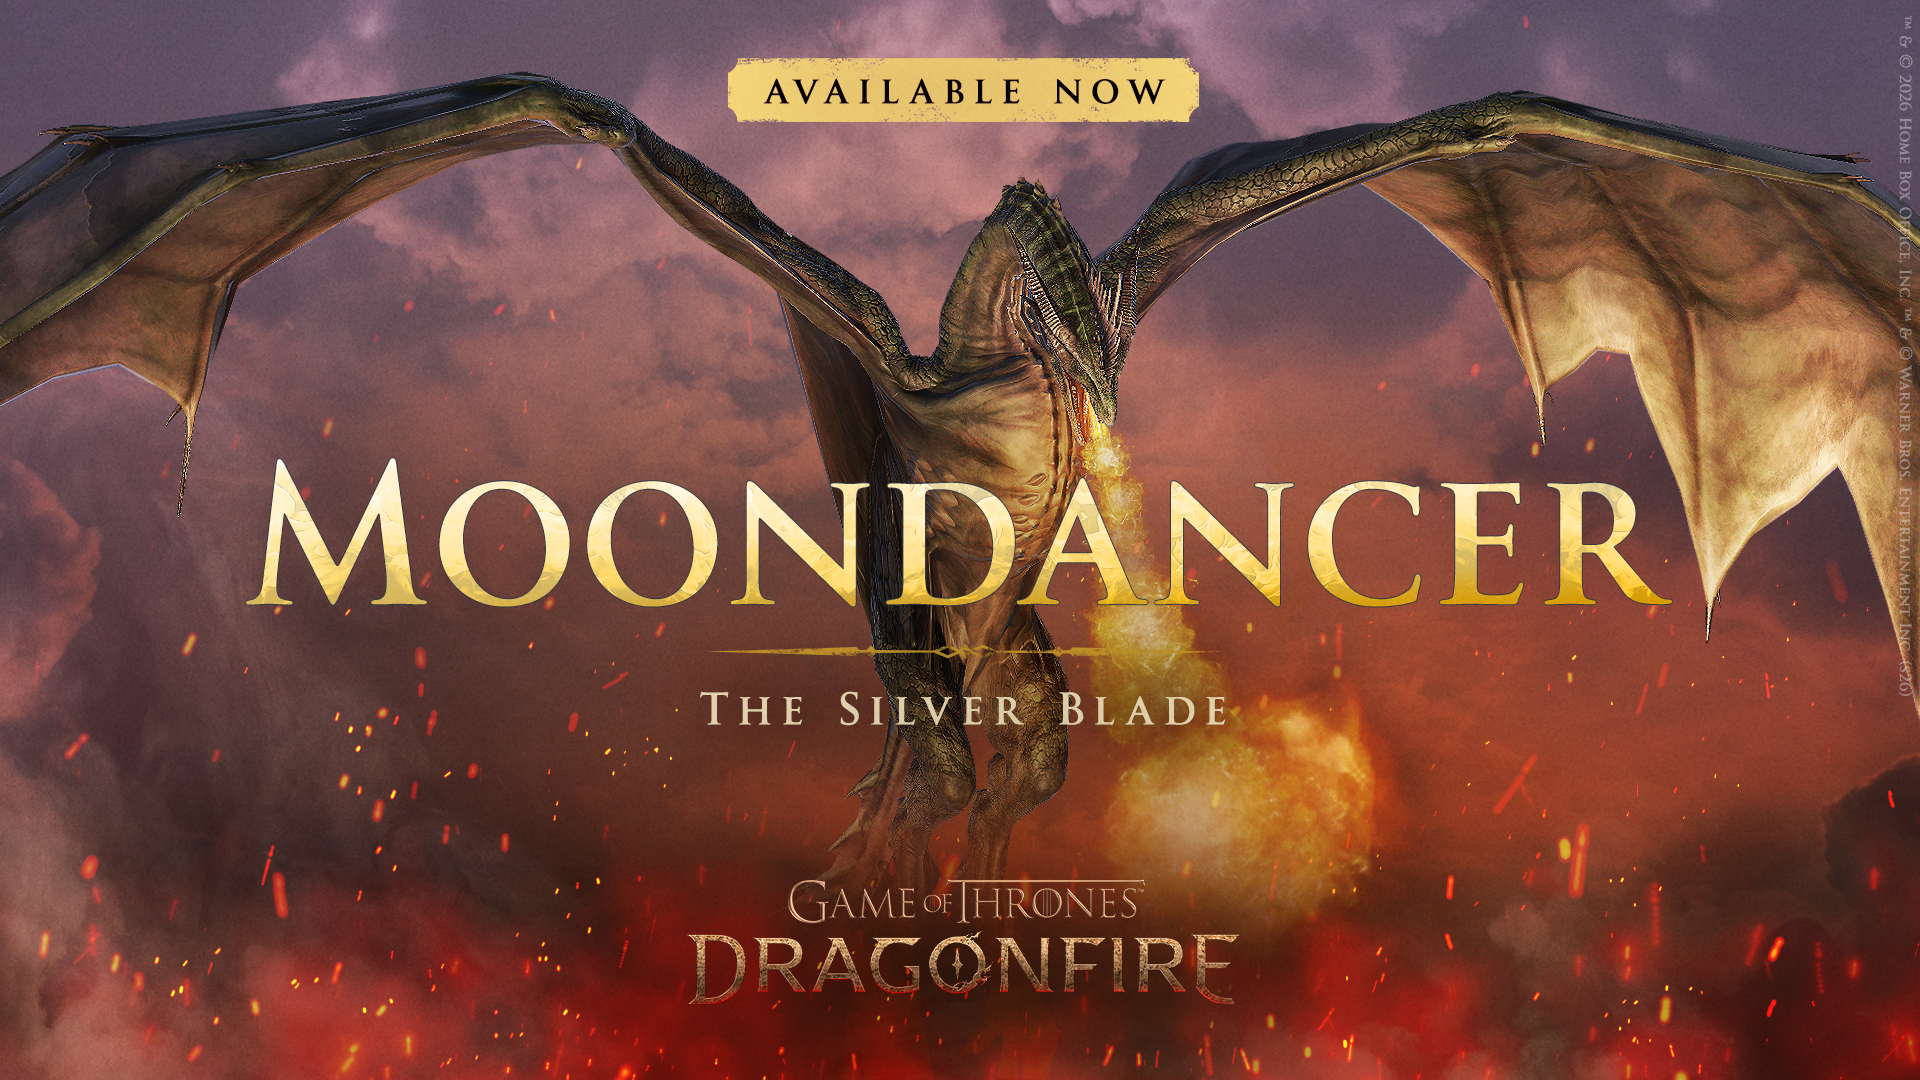
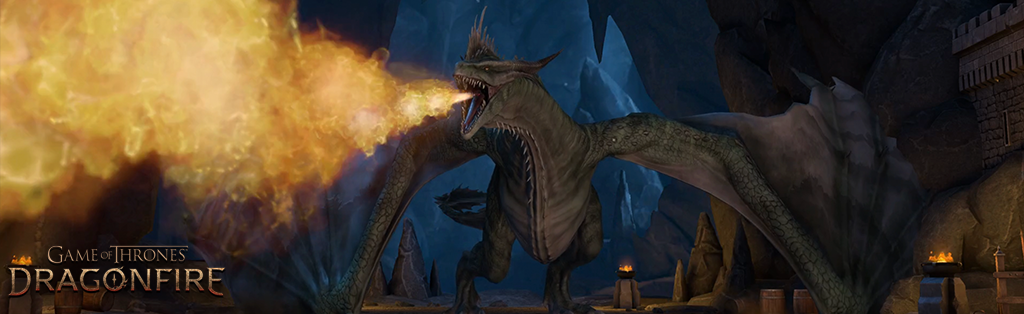
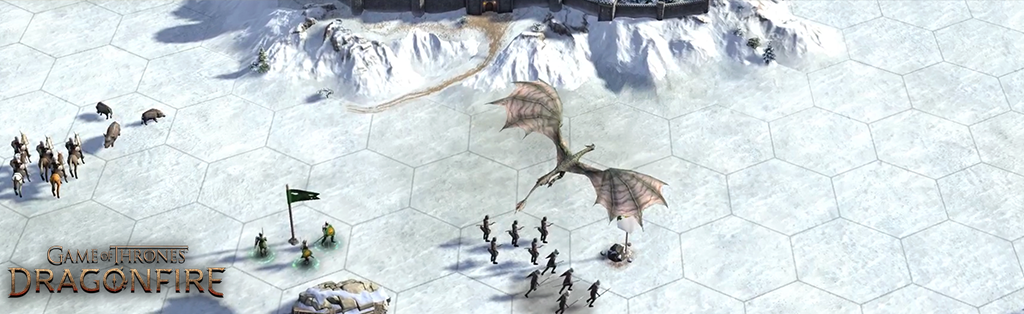
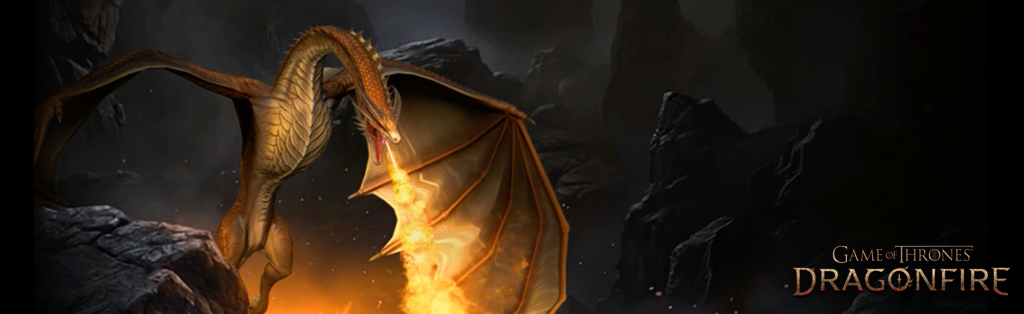
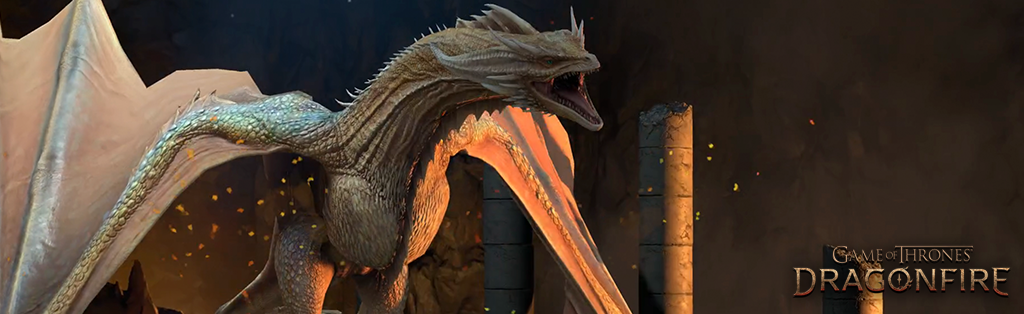
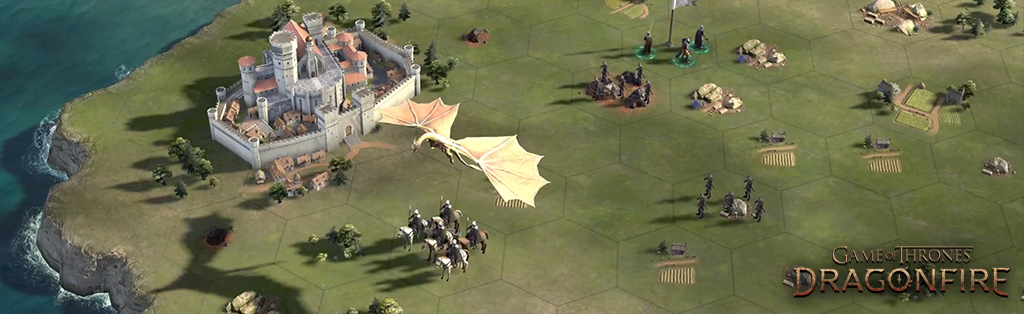
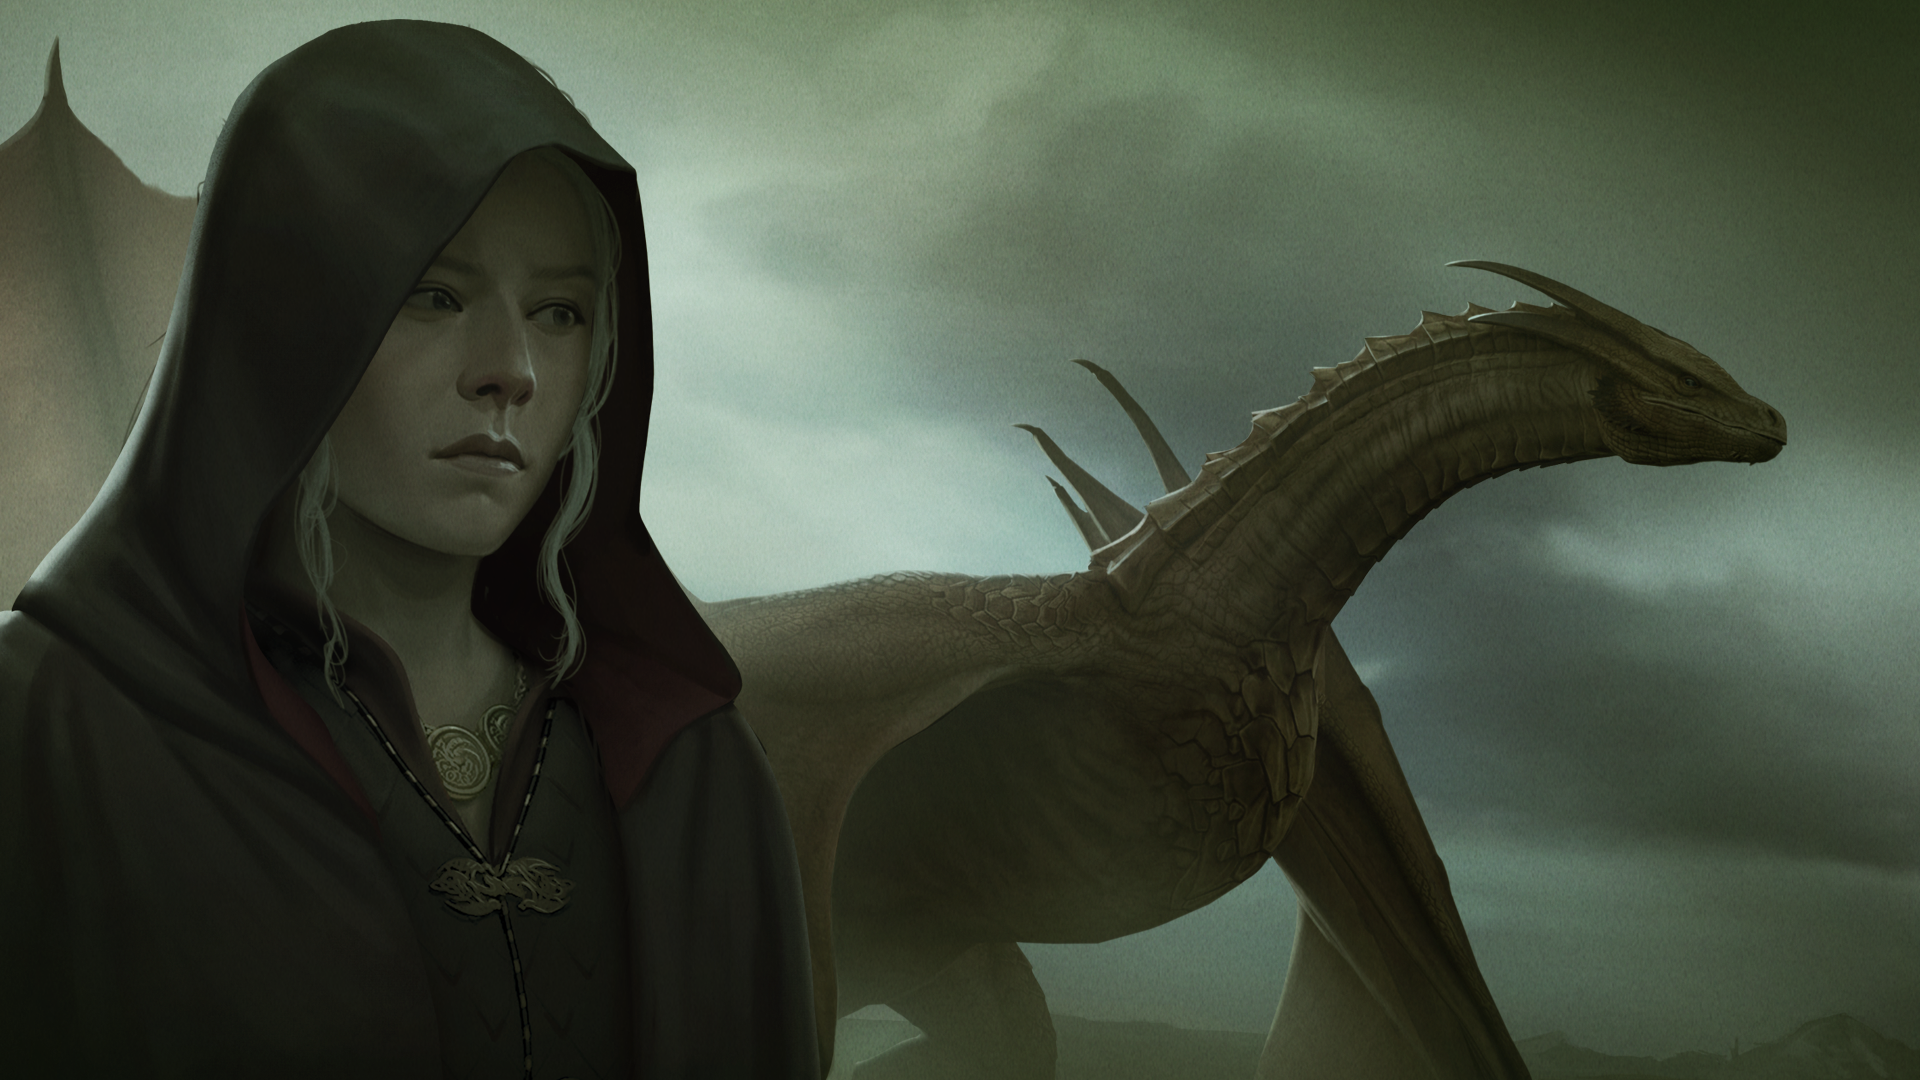
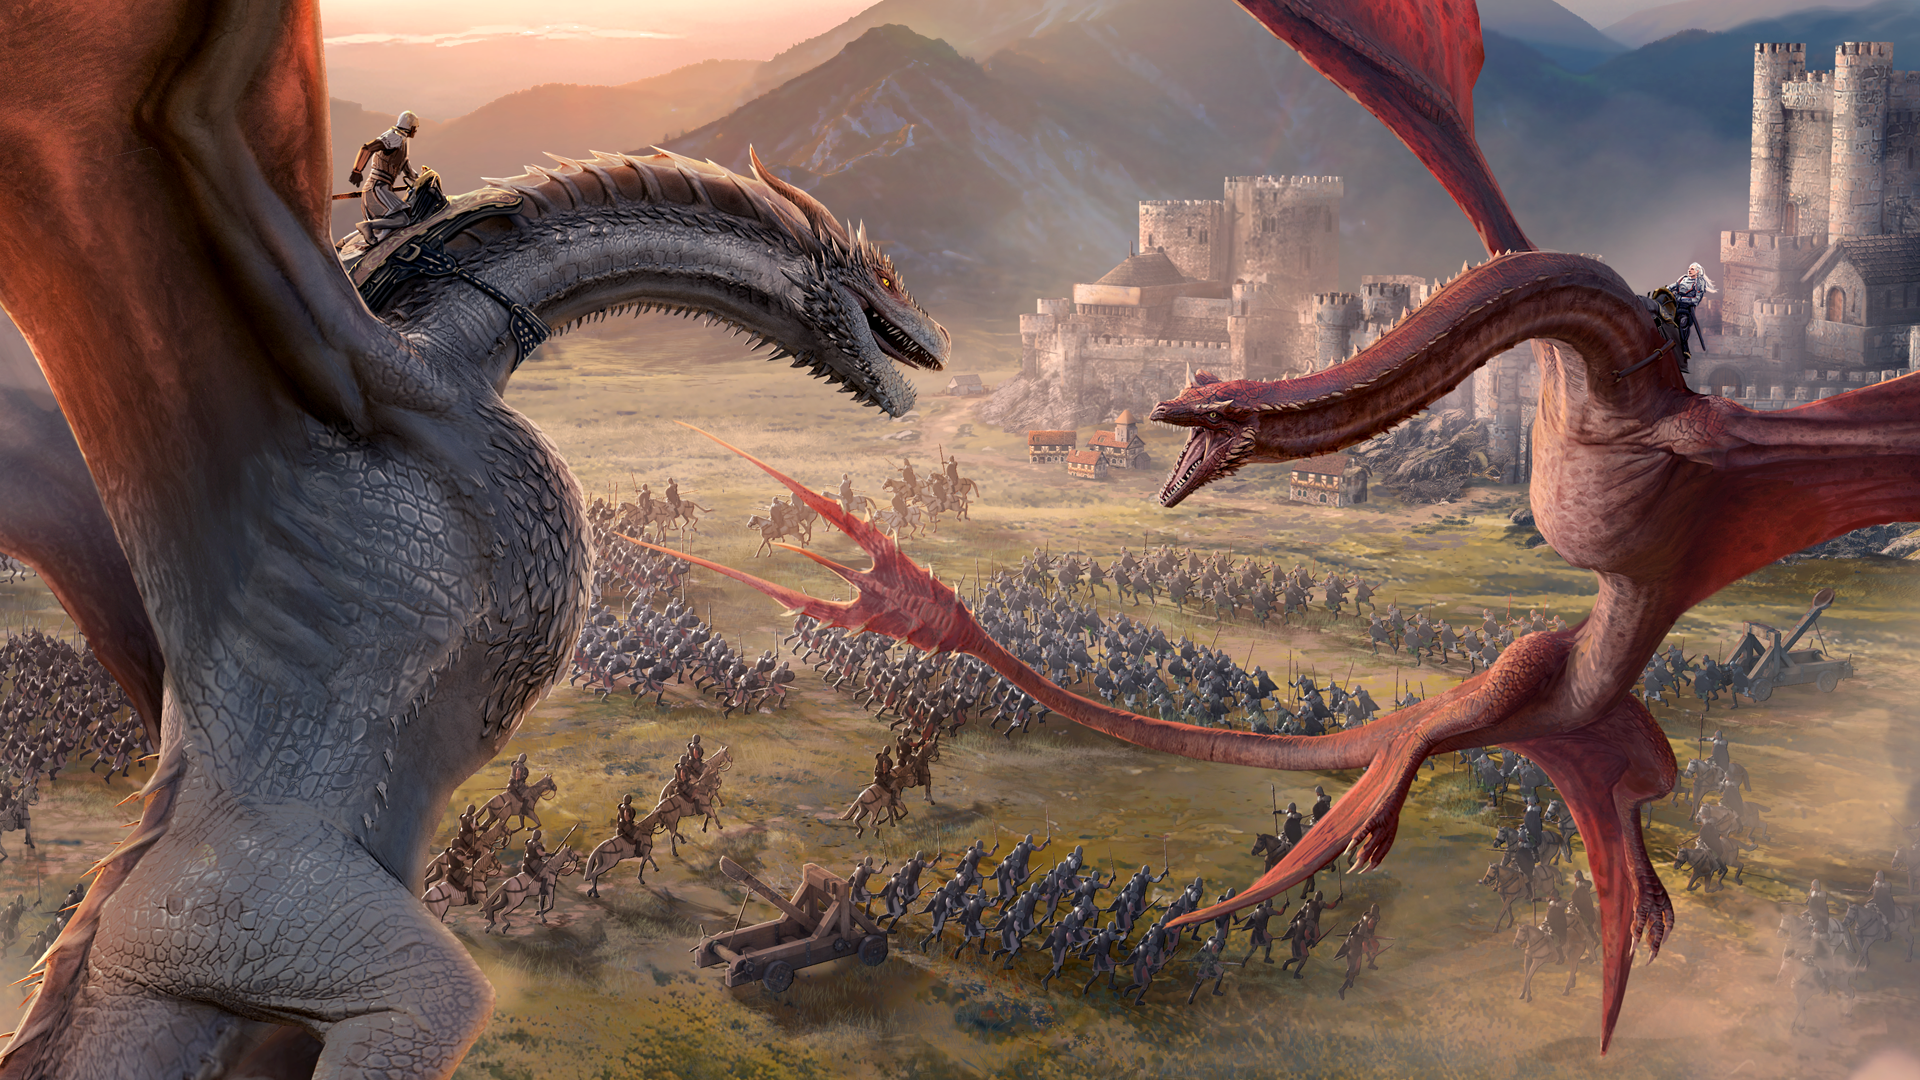
Moondancer is slender, swift, and silver-green, a dragon of quick turns and flashing wings, more blade than hammer in the open sky. Though young and smaller than the great war-dragons of the age, she moves with a grace that makes size seem a crude and clumsy thing.
With Baela Targaryen upon her back, Moondancer is courage given form: bold, bright, and unwilling to yield before greater shadows. She does not conquer through dread alone, but through speed, daring, and the fierce devotion between rider and dragon. Where Moondancer flies, youth itself becomes a weapon: reckless, radiant, and impossible to ignore.
Gameplay Details
Moondancer is a Legendary Warrior who builds momentum over time, becoming increasingly difficult to kill while applying sustained pressure to multiple enemies. She pairs up with an allied Sentinel, generating Rising Tide stacks whenever this ally deals Tactical damage or applies recovery. She reduces incoming damage with each stack and ramps into a powerful physical damage dealer and resilient late-game force.
Moondancer excels in extended fights where she can safely build stacks and leverage her durability and scaling damage.
When playing with Moondancer
Protect early & Scale Later
Keep her alive so she can build Rising Tide and take over the fight
Pair with Sentinel Ally to maximize stack generation
Faster stack generation leads to stronger mid and late-game pressure
Abilities
By generating Rising Tide stacks coordinating with a Sentinel ally, Moondancer reduces incoming damage and ramps into a powerful late-game state. Take note of the following Commands and Habits and use them to your advantage!
Command: Moondancer
Round 1
Grant Crescent Blade to 1 other ally Sentinel until the end of battle. Whenever the target deals Tactical Damage or applies Recovery, there is a chance for Moondancer to gain 1 stack of Rising Tide (Max 8 stacks). This effect cannot trigger more than once per round.
Each stack of Rising Tide reduces Moondancer’s Damage Received.
Even-numbered Rounds
Deal Physical Damage to 2 enemies within adjacency.
Habit 1: New Moon
Rounds 1, 3, 5
Chance to gain 1 stack of Rising Tide. Increase this chance if any ally has Advantage.
Odd-numbered Rounds
Increase the Instincts (enhanced by Initiative) and the Tactical Damage Dealt of 1 other ally Sentinel for 2 rounds. If you have 4+ stacks of Rising Tide, increase this effect.
Habit 2: Reactive Instincts
Start of Combat
Increase the Instincts and Initiative (enhanced by Strength) of the ally with the highest Instincts.
Habit 3: Full Moon
Crescent Blade gains
Rounds 6, 8, 10
Chance to gain 1 stack of Rising Tide. Increase this chance if any ally has Advantage. Additionally, gain 1 stack if you have the fewest troops of all combatants.
Even-numbered Rounds
Increase the Physical Damage amount per rank. Additionally, increase damage by 2x when you have 4+ stacks of Rising Tide.
Habit 4: Blood Moon
Each Round
If you have 4+ stacks of Rising Tide, increase your Physical Damage Dealt until the end of the round.
Odd-numbered Rounds
Chance to afflict Bleed on 2 enemies within adjacency for 2 rounds. Increase this chance if you have 6+ stacks of Rising Tide.
Habit 5: Eclipsing Strike
Each Round
Chance to reduce the Damage Dealt of the enemy with the most troops for 2 rounds. If you have 6+ stacks of Rising Tide, double this chance and additionally reduce the target’s Initiative (enhanced by Initiative).
Affinities
Spears: Neutral
Cavalry: Neutral
Shields: Positive
Archers: Positive
Siege: Negative
The Dragon Pit
Visit the Dragon Pit, and learn more about the Abilities, Habits and Commands of other Dragons!
Caring for one’s dragon is a remarkable feat. Over many years of training, Elder Angar had learned the secret arts of hatching that had been closely guarded by only the most trusted in Targaryen service. Now he passes that knowledge to you.
Want to learn more about how to improve all your dragons? Dive into detail about how to hatch and grow your dragons to become formidable foes throughout the seven kingdoms through our Guide to Dragons!
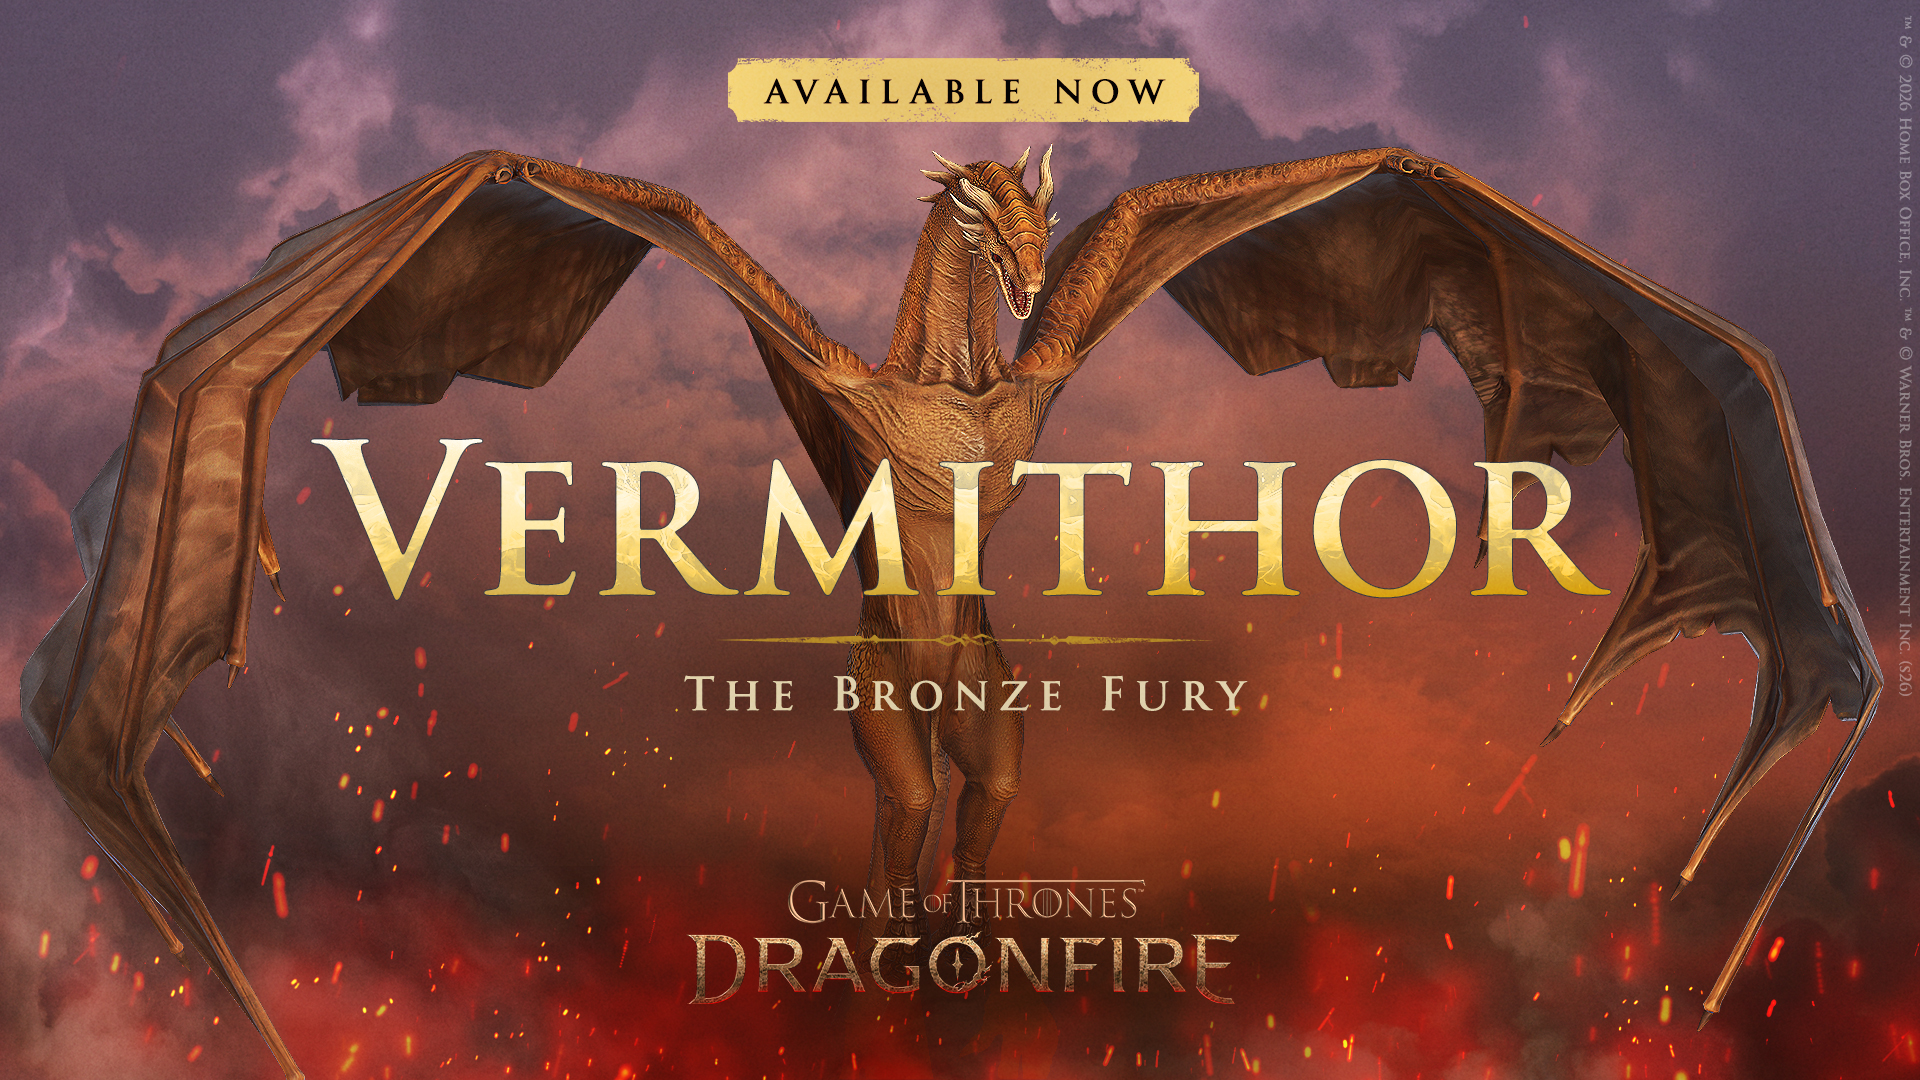
Vermithor, the Bronze Fury, whose scales glitter like the richest sun-kissed treasures, once bore King Jaehaerys I across the skies. This dragon’s fierce loyalty and fiery breath have etched their mark upon the annals of history. It was Vermithor who breathed life into the flames of King Aenys I’s funeral pyre—a sight both awe-inspiring and somber.
Now, Vermithor seeks the solace of solitude, residing in the smoky embrace of Dragonmont’s caverns, where the echoes of past glories and the whispers of the mountain intertwine. A legend not lost, but silently watching over his realm from the shadows of his lair.
This Dragon is only available to claim upon entering the campaign: Shadow of the Greens!
Gameplay Details
Vermithor is a Legendary Champion who protects struggling allies while steadily punishing enemy aggression through a mix of Physical and Tactical damage. He excels at absorbing pressure for his team, and reducing the offensive output of enemy Warrior and Hunter threats. As battle continues, Vermithor becomes harder to break through, using layered damage reduction to anchor the fight from the front.
He thrives in armies that benefit from a durable protector and can capitalize on the breathing room he creates, especially against teams that rely heavily on Physical or Fire damage. While primarily defensive, he still contributes meaningful mixed-damage with his command and habits.
When playing with Vermithor
Anchor the frontline
Vermithor is strongest when absorbing pressure and protecting allies.
Leverage his matchups
He performs especially well against Warriors and Hunters, reducing their output while improving his own durability
Play for the long game
His mitigation, suppression, and mixed damage become more valuable over time
Abilities
Vermithor excels at absorbing pressure for his team, and reducing the offensive output of enemy Warrior and Hunter threats. Take note of the following Commands and Habits and use them to your advantage!
Command: Bronze Fury
Rounds 2, 4, 6, 8
Deal Physical Damage and Tactical Damage to 2 enemies within adjacency.
Odd-numbered Rounds
Chance to apply Protect to the other ally within adjacency with the least troops for 2 rounds. Protect causes damage dealt to the target by Commands and Habits to be split between them and the dragon that applied Protect.
Habits
Habit 1: Noble Sacrifice
Start of Round 1: Increase your Tactical Damage Received (this is a self-debuff). Reduce the Physical Damage Dealt of 1 enemy in any lane (prioritizing Warriors) and the Fire Damage Dealt of 1 enemy in any lane (prioritizing Hunters).
Each effect lasts for 5 rounds.
Habit 2: Nimble Resilience (Shared)
Start of Combat: Reduce your Damage Received and increase your Initiative until the end of combat.
Habit 3: Bronze Bulwark
Bronze Fury gains:
Increase the amount of Physical and Tactical Damage dealt.
Increase the chance to apply Protect to an ally. Additionally, when you apply Protect, reduce your Physical and Fire Damage Received for 2 rounds.
Habit 4: Fury’s Poise
Start of Combat: For each Warrior in the enemy army, reduce your Physical Damage Received. For each Hunter in the enemy army, reduce your Fire Damage Received. Each effect lasts until the end of combat.
Habit 5: Vengeful Fury
Each Round: If you are below 50% Max Troop Capacity, deal Physical Damage to the enemy with the lowest Instincts and deal Tactical Damage to the enemy with the lowest Intelligence. This effect only triggers once per combat.
Affinities
Spears: Positive
Cavalry: Neutral
Shields: Positive
Archers: Neutral
Siege: Neutral
The Dragon Pit
Visit the Dragon Pit, and learn more about the Abilities, Habits and Commands of other Dragons!
Caring for one’s dragon is a remarkable feat. Over many years of training, Elder Angar had learned the secret arts of hatching that had been closely guarded by only the most trusted in Targaryen service. Now he passes that knowledge to you.
Want to learn more about how to improve all your dragons? Dive into detail about how to hatch and grow your dragons to become formidable foes throughout the seven kingdoms through our Guide to Dragons!
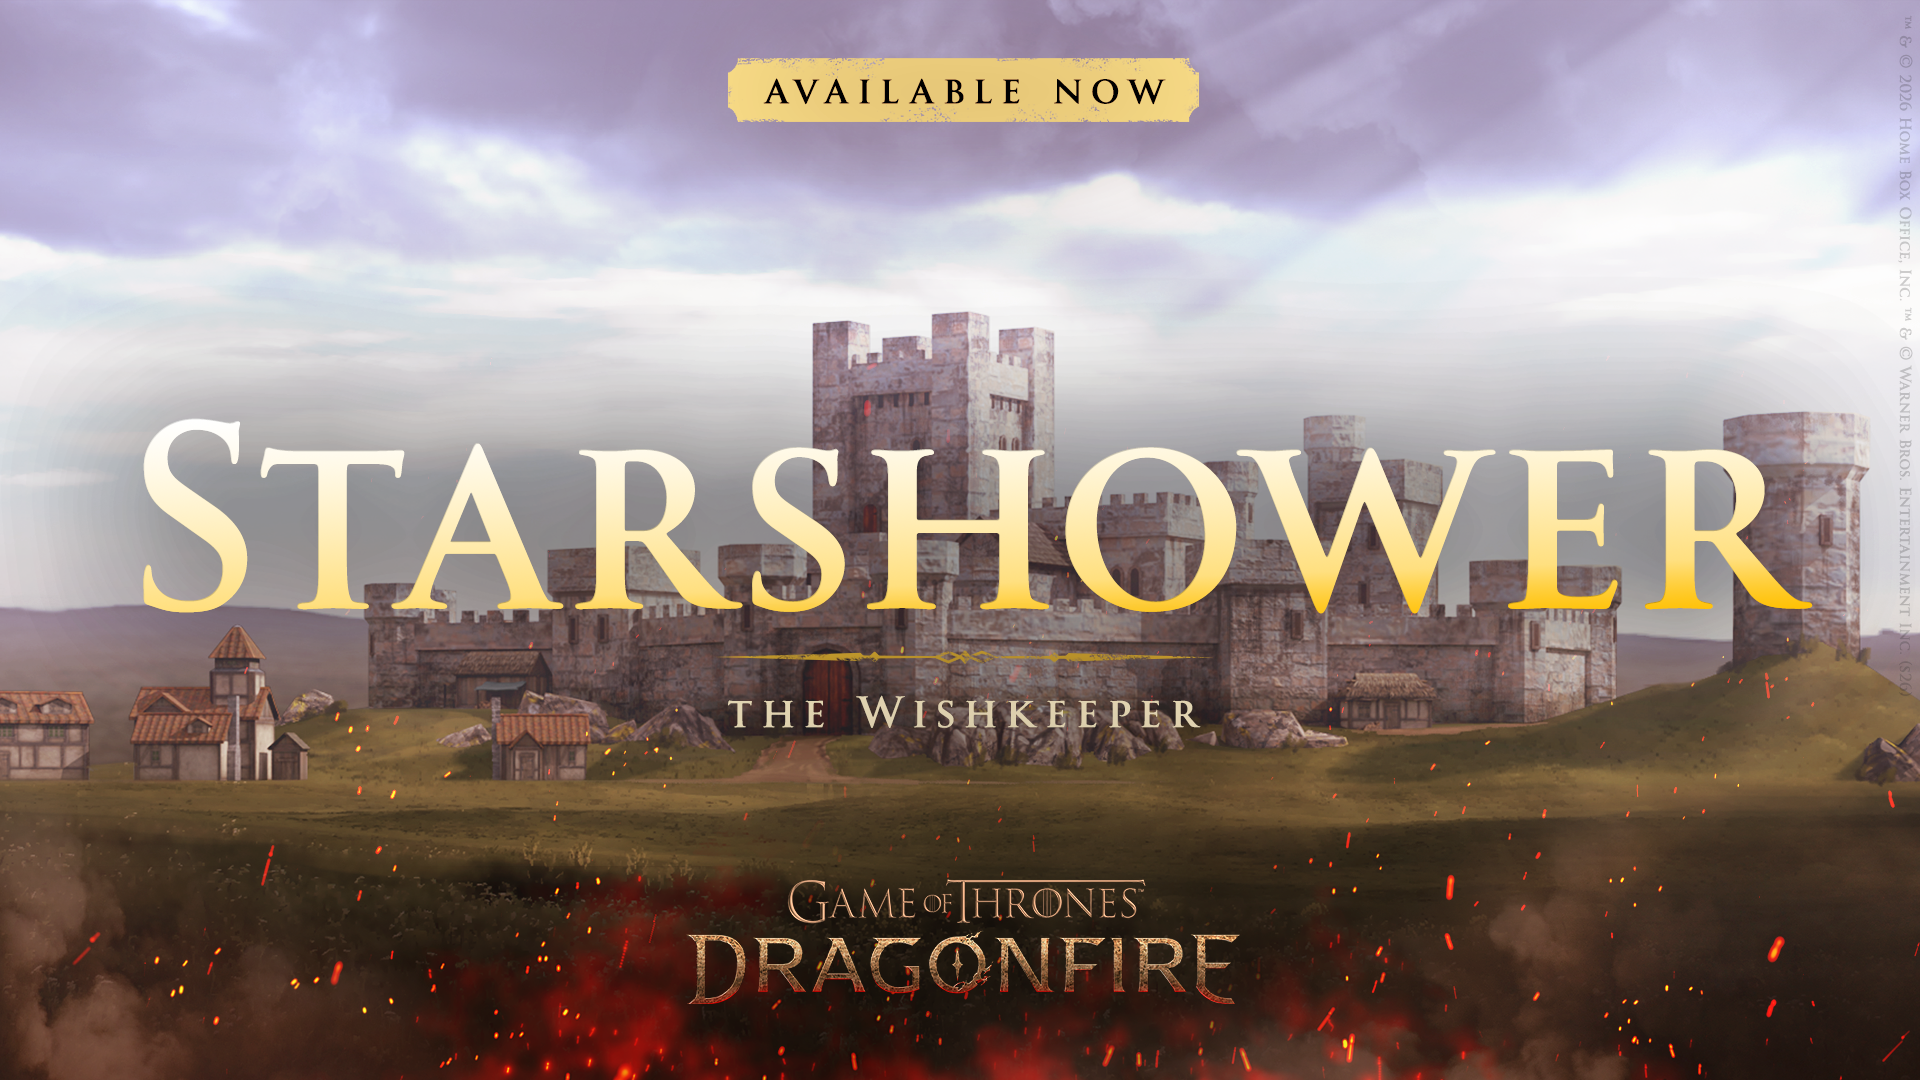
Starshower, the Wishkeeper, was first seen during a summer when the heavens turned restless. As a thousand meteors streaked across the sky, smallfolk fell to their knees in terror, believing the Seven had loosed their judgement upon the world. Yet, from that blazing rain descended Starshower, wings aglow with embers like falling stars.
Instead of fire and ruin, she circled watchfully above the countryside, each sweep of her wings scattering the meteors harmlessly into the distant sea. Ever since, Starshower is said to appear only when catastrophe looms from above—comets, omens, or worse—standing guard between the realm and the wrath of the skies.
Those who glimpse her passing make a wish in silence, for it is believed that so long as Starshower watches the night, the world will endure until morning.
This Dragon is only available to claim upon entering the campaign: Shadow of the Greens!
Gameplay Details
Starshower is an Epic Sentinel whose kit centers around marking enemies with Solar Flare. She converts those marks into repeated Tactical damage to enemies and damage mitigation for allies. Unlike more traditional Sentinels, Starshower leans into Tactical offense; she excels at steadily softening the enemy team across the full battle, using Starfall and Ill Portents to maintain offensive pressure. Despite her Tactical damage focus, she provides light but valuable allied support through Cleanse, Evade, and some brief protection when a Solar Flare mark is consumed.
When playing with Starshower
Play around Solar Flare
Her damage and defensive value both improve when she repeatedly consumes marked enemies.
Capitalize on her ally protection
Cleanse, Evade, and damage reduction help your team stay stable while she continues building value.
Abilities
Take note of the following Commands and Habits and use them to your advantage!
Command: Starfall
Start of Combat:
Mark each enemy dragon with Solar Flare.
Each Round:
50% chance to deal Tactical Damage and remove Solar Flare on 1 enemy with Solar Flare.
Rounds 1, 3, 7, 9:
Deal Tactical Damage to 1 enemy in the same lane.
Habits
Habit 1: Night Guardian
Each Round: Chance to Cleanse 1 Negative effect from 2 other allies and grant them Evade for 1 round.
Habit 2: Battle Subversion (shared)
Start of Combat: Reduce the Intelligence and Initiative (enhanced by Instincts) of 3 enemies until the end of combat.
Habit 3: Ill Portents
Starfall gains:
Each Round: Increase the Tactical Damage dealt when consuming Solar Flare.
Rounds 6-10: If no Enemy has Solar Flare, mark each enemy dragon with Solar Flare. This effect can only trigger once per combat.
Habit 4: Tactical Breach (shared)
Start of Combat: Increase the Tactical Damage Received of 1 enemy in the same lane until the end of combat.
Habit 5: Wishkeeper’s Grace
Starfall gains:
When you consume a Solar Flare: Reduce the Damage Received of 2 allies within adjacency for 1 round.
If you have Resistance, increase this effect by 1.5x. If you have Advantage, this effect instead applies to 3 allies in any lane.
Affinities
Spears: Neutral
Cavalry: Neutral
Shields: Positive
Archers: Neutral
Siege: Neutral
The Dragon Pit
Visit the Dragon Pit, and learn more about the Abilities, Habits and Commands of other Dragons!
Caring for one’s dragon is a remarkable feat. Over many years of training, Elder Angar had learned the secret arts of hatching that had been closely guarded by only the most trusted in Targaryen service. Now he passes that knowledge to you.
Want to learn more about how to improve all your dragons? Dive into detail about how to hatch and grow your dragons to become formidable foes throughout the seven kingdoms through our Guide to Dragons!
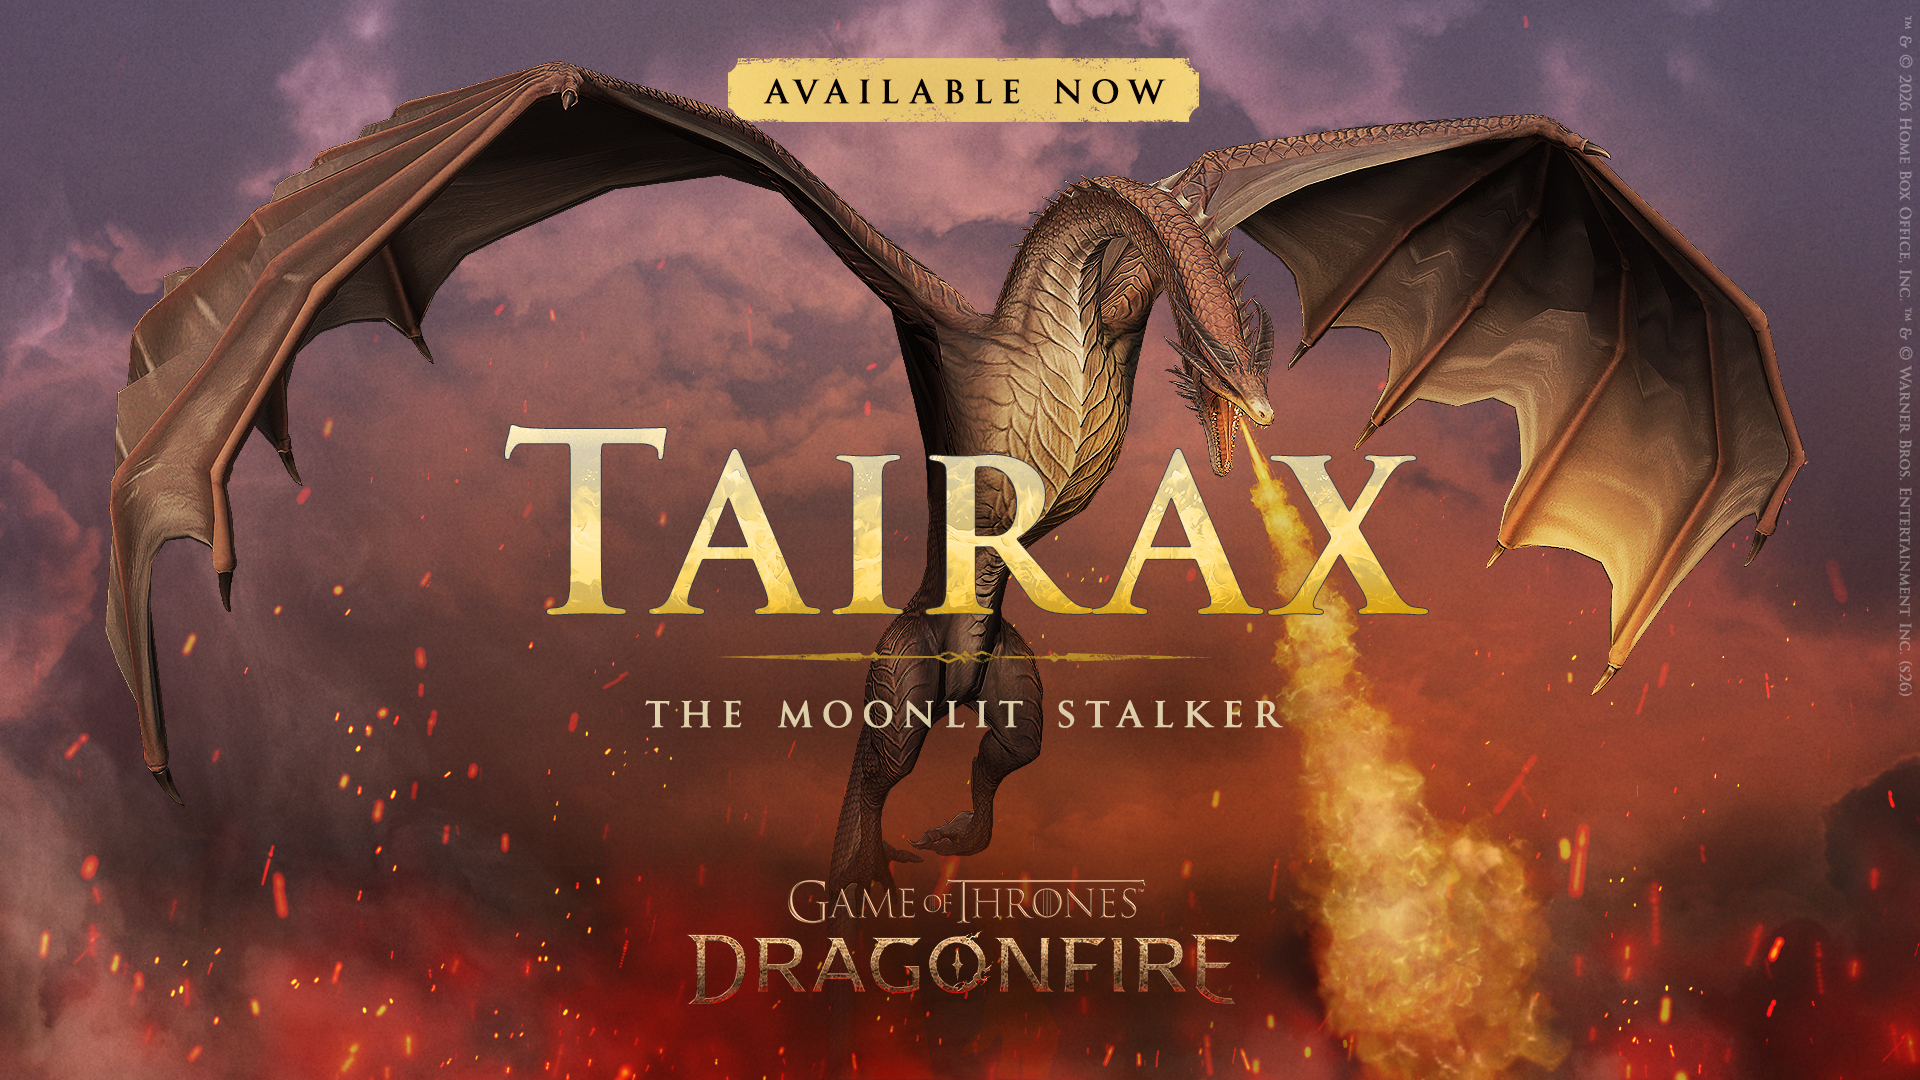
Tairx, the Moonlit Stalker, is a dragon of unparalleled stealth and precision. Her shimmering scales melt into the night sky, allowing her to move unseen, like a whisper gliding on a breeze.
One of her most fabled escapades was a game of hide-and-seek with the children of the Vale, orchestrated by her playful rider, Lady Lyra. This dragon hid in impossible places, and when she revealed herself at last, it was with a burst of fire that etched a wondrous sigil into the grass: a gift, not a threat.
Her touch is subtle, her strike swift, a shadow that plays, then pounces. Today, let us dive into one of the newest dragons to be introduced to Game of Thrones: Dragonfire: Tairax.
Gameplay Details
Tairax is a control-focused Epic Fire Hunter who specializes in shutting down enemy attack patterns through repeated Stagger while punishing enemies hindered by Control effects.
She disrupts key threats across any lane, weakens enemy timing through targeted stat reduction, and converts those openings into steady Fire Damage and Burn.
Tairax thrives in longer fights where her disruption can repeatedly interfere with enemy actions, allowing her to create openings for both herself and her allies. While fragile, her early-round Evade and defensive support with Resistance can reliably get her to the later rounds where her offensive output really shines.
When playing with Tairax
Disrupt key action-dependent enemies early.
Tairax is strongest when her Stagger shuts down dragons that rely on Attack Modifier Commands or repeated Basic Attacks.
Pair with control-heavy allies.
She gains extra value when enemies are already afflicted with Control effects, allowing her to amplify team-wide pressure.
Play for longer fights.
Her control becomes more reliable over time, and her late Fire scaling helps her become more threatening into the second half of battle.
Abilities
Tairax disrupts key threats across any lane, weakens enemy timing through targeted stat reduction, and converts those openings into steady Fire Damage and Burn. Take note of the following Commands and Habits and use them to your advantage!
Command: Burning Ward
Odd-numbered Rounds:
Chance to afflict Stagger on 1 enemy in any lane for 2 rounds.
Stagger prevents the target from using Attack Modifier Commands or launching Basic Attacks
Rounds 2, 5, 8
Deal Fire Damage to 1 enemy in any lane (prioritizing targets not afflicted with Burn), and there is a chance to afflict the target with Burn for 2 rounds.
Habits
Habit 1: Whisper of Ash
Start of Round 1: Reduce the Strength and Initiative (enhanced by Intelligence) of 1 enemy in the same lane for 5 rounds.
Start of Round 6: Increase your Intelligence and Initiative for 5 rounds.
Habit 2: Sunder
Start of Each Round: Increase the Damage Received of all enemies afflicted with a Control effect until the end of the round.
Habit 3: Gleamstrike
Burning Ward gains
Odd-numbered Rounds: Increase Burning Ward’s chance to Stagger.
Each Round: Deal Fire Damage to all enemies afflicted with a Control effect.
Habit 4: Gift of Fire
Start of each Round: For each enemy afflicted with Burn, chance to apply Resistance to 1 Ally in any lane for 2 rounds (prioritizes targets not already affected by Resistance).
Habit 5: Moonlit Hunt
Start of Round 1: Grant yourself Evade for 5 rounds. Evade causes each instance of damage against the target to have a chance to be ignored.
Start of Round 6: Increase your Fire Damage Dealt for 5 rounds.
The Dragon Pit
Visit the Dragon Pit, and learn more about the Abilities, Habits and Commands of other Dragons!
Caring for one’s dragon is a remarkable feat. Over many years of training, Elder Angar had learned the secret arts of hatching that had been closely guarded by only the most trusted in Targaryen service. Now he passes that knowledge to you.
Want to learn more about how to improve all your dragons? Dive into detail about how to hatch and grow your dragons to become formidable foes throughout the seven kingdoms through our Guide to Dragons!
Sunfyre, the Golden, is counted among the most magnificent dragons ever to take wing, his scales shining like beaten gold and his pale fire bright enough to shame the dawn. In sunlight he seems less a beast than a living treasure, each sweep of his wings scattering radiance across the sky.
Yet splendor has never softened him. Bound to Aegon II Targaryen, this dragon carries a pride as fierce as his flame, regal in ascent and devastating in wrath.
Today, let us dive into one of the newest dragons to be introduced to Game of Thrones: Dragonfire: Sunfyre.
Gameplay Details
Sunfyre is a Legendary Tactical Sentinel who turns incoming pressure into team value. He deals steady Tactical Damage, strengthens allies as his troop count falls, and becomes more dangerous when wounded. Adding Fire Damage and Burn at lower troop thresholds. He is especially effective against Fire-focused enemies, reducing their output while punishing them for targeting his team.
He performs best in extended fights and rewards teams that can capitalize on his ability to grow stronger in long battles. His defensive tools help ensure he stays in the fight as long as possible.
When playing with Sunfyre
Use him in longer fights.
His value increases as his troop count drops and more of his habits come online.
Pair him with strong carriers.
He buffs allies and helps maintain offensive momentum.
Leverage his abilities against Fire Damage armies.
He is especially strong against teams that rely on Fire Damage.
Abilities
Sunfyre deals steady Tactical Damage, strengthens allies as his troop count falls, and becomes more dangerous when wounded, adding Fire Damage and Burn at lower troop thresholds. Take note of the following Commands and Habits and use them to your advantage!
Command: Golden Wrath
Rounds 1, 4, 7, 10
Deal Tactical Damage to 1 enemy in the same lane.
If you are below 75% Troop Capacity
Also Deal Tactical Damage to a 2nd enemy within adjacency.
If you are below 50% Troop Capacity
Also Deal Fire Damage to the same targets and there is a chance to afflict each target with Burn for 2 rounds.
Habits
Habit 1: Radiant Majesty
Start of Each Round: Increase the Damage Dealt of the other ally with the most troops until the end of the round.
If you are below 75% Troop Capacity, apply this effect to both other allies instead.
If you are below 50% Troop Capacity, also apply this effect to yourself.
Habit 2: Extinguish
Start of Combat: Reduce the Fire Damage Dealt of 1 enemy that deals Fire Damage until the end of combat.
Habit 3: The King’s Ire
Each Round: The first time any ally receives Fire Damage, deal Tactical Damage to 1 enemy that deals Fire Damage. Additionally, chance to reduce the target’s Intelligence (enhanced by Instincts) for 2 rounds.
Habit 4: Unbroken Splendor
Start of Combat: Reduce your Fire Damage Received until the end of combat.
Start of Each Round: If you are below 50% Troop Capacity, reduce your Damage Received until the end of the round. Additionally, there is a chance to Cleanse 1 Negative effect that increases your Damage Received (prioritizes Vulnerable).
Habit 5: Adaptive Glory
The first time you receive damage each round:
If it was Fire Damage, apply Recovery (enhanced by Instincts) to yourself
If it was Tactical Damage, increase the Damage Dealt of the ally with the most troops for 1 round
If it was Physical Damage (excluding Basic Attacks), reduce the Damage Dealt of the enemy with the most troops for 1 round
If it was a Basic Attack, increase your Instincts and Initiative for 1 round
The Dragon Pit
Visit the Dragon Pit, and learn more about the Abilities, Habits and Commands of other Dragons!
Caring for one’s dragon is a remarkable feat. Over many years of training, Elder Angar had learned the secret arts of hatching that had been closely guarded by only the most trusted in Targaryen service. Now he passes that knowledge to you.
Want to learn more about how to improve all your dragons? Dive into detail about how to hatch and grow your dragons to become formidable foes throughout the seven kingdoms through our Guide to Dragons!
Today we are chatting about a very complex game design topic, but one that we care about a lot: World Health.
As a studio, our roots are in creating complex MMOs and immersive worlds, and we carry that to Game of Thrones: Dragonfire. With long-lived games, the priorities of our players naturally change over time and the problems to solve can become quite complex.
One of these complex and evolving topics we often hear from players is that of the World population, playing with your friends, and creating competitive match ups. This is definitely on our minds too, but we think the solutions are part of a much bigger update and want to give it the development focus it deserves to deliver them correctly.
Now that we’ve officially gone worldwide, let’s take some time to reframe the discussion into how we view World Health, Competitiveness and WorldTransitions.
In Game of Thrones: Dragonfire, we call the many servers of players existing in parallel ‘Worlds.’ Each World is unique, beginning at different times, containing different communities of players, running events at different times, and so on.
We believe the game is the most fun when you have players to talk to, compete against, and form alliances with. We want to design a platform and gameplay experience that allows these interactions to thrive. When we achieve this goal, that is when your World is ‘healthy’.
You can just feel it when you’re in one of these vibrant, competitive communities, with a rich web of strategic planning, social coordination, and well-matched battles. It can feel like you’re living a storyline straight out of Westeros.
But this doesn’t just happen by chance. Designing a game that consistently delivers those experiences, especially as Worlds age and populations shift, takes deliberate, ongoing work. That’s what World Health is about.
Ahealthy World contains a competitive population of other dragonriders and engaging ways to play with them.
How to Define Competitiveness
Competitiveness isn’t one thing. When we design around it, we’re thinking about several definitions:
Variety – Are there different types of players and playstyles around you?
Novelty – Are there new faces to join forces with or play against? Or are you playing with the same players you’ve competed against since the beginning of the game?
Balance – Do the Factions within a World progress at a similar pace, resulting in a compelling campaign?
Social Engagement – This is a social game. The human element of communal strategizing, alliances, etc, can drastically change the experience of a World that may otherwise have appeared more or less competitive.
No single definition can encompass every World experience, but by designing a balance of each of these points, we are more likely to deliver on the vibrant, competitive Worlds that are most fun for our players.
How World Transitions Work
When players first join the game, they are placed on a recently created World running the introductory “Heirs of the Dragon” Campaign. Once that Campaign concludes, every other introductory World that is ending at the same time is eligible to be transitioned together. We call this group of Worlds a “cohort.”
This marks players’ first WorldTransition: the process of remixing existing Worlds into new Worlds before the next Campaign begins.
During a Transition, Alliances are always kept intact, but your World and Faction groups are not. We also do our best to honor your Faction Selection preferences, but will always prioritize creating a fun and balanced experience for the most players.
Transitions are the most powerful tool we have for maintaining World Health over time. They’re the moment where we can inject variety, introduce new faces, and recalibrate the competitive landscape.
Done well, a Transition feels like the start of an entirely new chapter.
Done poorly, it can feel disruptive, unfair, or confusing.
This last year has taught us a great deal about what that actually takes.
What We Learned from Soft Launch
We want to be direct about what we have observed during Soft Launch, because understanding those problems is the key to understanding why the new system is built the way it is.
Problem #1: Lower Population
With the worldwide launch behind us, this constraint no longer applies. The player pool for Transitions is dramatically larger, which gives us the flexibility to build better-balanced, more vibrant Worlds.
Problem #2: Faction Balance Was Random
Soft Launch ran in a limited number of countries by design. That meant the pool of players available for any given Transition was much smaller than the system was built for. When fewer players enter a Transition, it becomes harder to construct Worlds that feel full, competitive, and alive. Especially as groups of players entered their third, fourth, and later Campaigns. Some Worlds ended up underpopulated in ways that hurt the gameplay experience for everyone in them.
Previously, we did not have the technology to evaluate player or Alliance progress when constructing Transitions. Factions were balanced entirely by player count, which meant the strongest players in the game could end up stacked on one side against a group of significantly weaker or less active players on the other.
That’s not a competitive World, and was leaving the health of Worlds up to chance.
Problem #3: Difficulty playing with your friends
Friend Codes is one of the most-requested features in the game, and we want to directly address the concerns we’ve heard over the course of Soft Launch and our games release.
Why are Friend Codes limited to new Worlds?
Friend Codes were designed to let you choose your World and play alongside the people you want to play with. In principle, that’s exactly the kind of feature we want to build.
In its current iteration, Friend Codes potentially allows players to jump between different World cohorts, which may be running different experiences, or include different content. Joining a World in this case could affect your game experience negatively. A few examples:
If you were going to a World that didn’t have a certain item available, that item could disappear from your account.
If a player friend coded into a World who was in a different campaign that had a feature they didn’t previously have access to, it could leave the player at a severe disadvantage compared to others on that World.
If you joined a World that didn’t have a feature you previously did have access to, it could cause you to lose access to that feature while in that World, or provide an unfair advantage to you compared to other players in the World.
Unrestricted Friend Coding in the middle of a Campaign could lead to World health deterioration.
It also allowed for alt account abuse, where players could create multiple accounts to spam and take over rivaling factions with inactive users.
Due to the above, we were forced to make the difficult decision to limit Friend Codes to new Worlds going through their first campaign, Heirs of the Dragon, while we look to build out options to join friends for players in older cohorts that safely handles the above problems.
We want to be sure your account is safe when changing Worlds, and that the Worlds you end up on are healthy with active users.
Coming Next
#1: Addressing Population
Our first problem, population, has largely solved itself with our worldwide release. Most cohorts from now on can expect to have a sufficient population to create multiple vibrant and populated Worlds upon a Transition. We are very open to feedback here, and want to hear from you if population density feels right in future Campaigns.
#2: Matchmaking for World Transition
Second, we are building tech to balance Alliances by multiple factors, such as retained progress and player effectiveness across Factions and Worlds as part of World Transitions. With this, we expect much more reliably balanced Faction competition than before.
This is a key piece of creating healthy Worlds with balanced competition, new faces, and keeping new Campaigns exciting. We expect to begin using this new tech for transitions by the end of July 2026.
#3: More ways to play with your friends
Finally, we are exploring additional options for player movement between Worlds in later Campaigns.
As highlighted above, Friend Codes in their current state are limited to new Worlds. We want to expand Friend Codes, take note of potential avenues of abuse, prevent it and allow players to join their friends in different Worlds when applicable.
We want to give you the opportunities to join your friends. Maintaining World Health is our highest priority, and we welcome your feedback on continuing to improve the process.
Stay in the Conversation
World Health is not a problem we will solve once and move on from. It is something we intend to invest in continuously as Game of Thrones: Dragonfire grows, the player base evolves, and we learn more about what makes our Worlds thrive.
This will be the first update of many making sure you all are in the loop in regards to the state of World Health and how we tackle the Transition process.
Your feedback has already shaped what you’ve read in this post. Soft Launch players surfaced the problems we’ve described, and that input drove the new system’s design. We want to keep that channel open.
If you’re interested in discussing World Health, Transitions or Friend Codes, be sure to join us on Discord! If you have a specific point of feedback, create a post in our #gameplay-suggestions channel. We are always looking for your input when designing these features, and always appreciate your perspective.
We’ll see you soon, and thank you for playing Game of Thrones: Dragonfire!
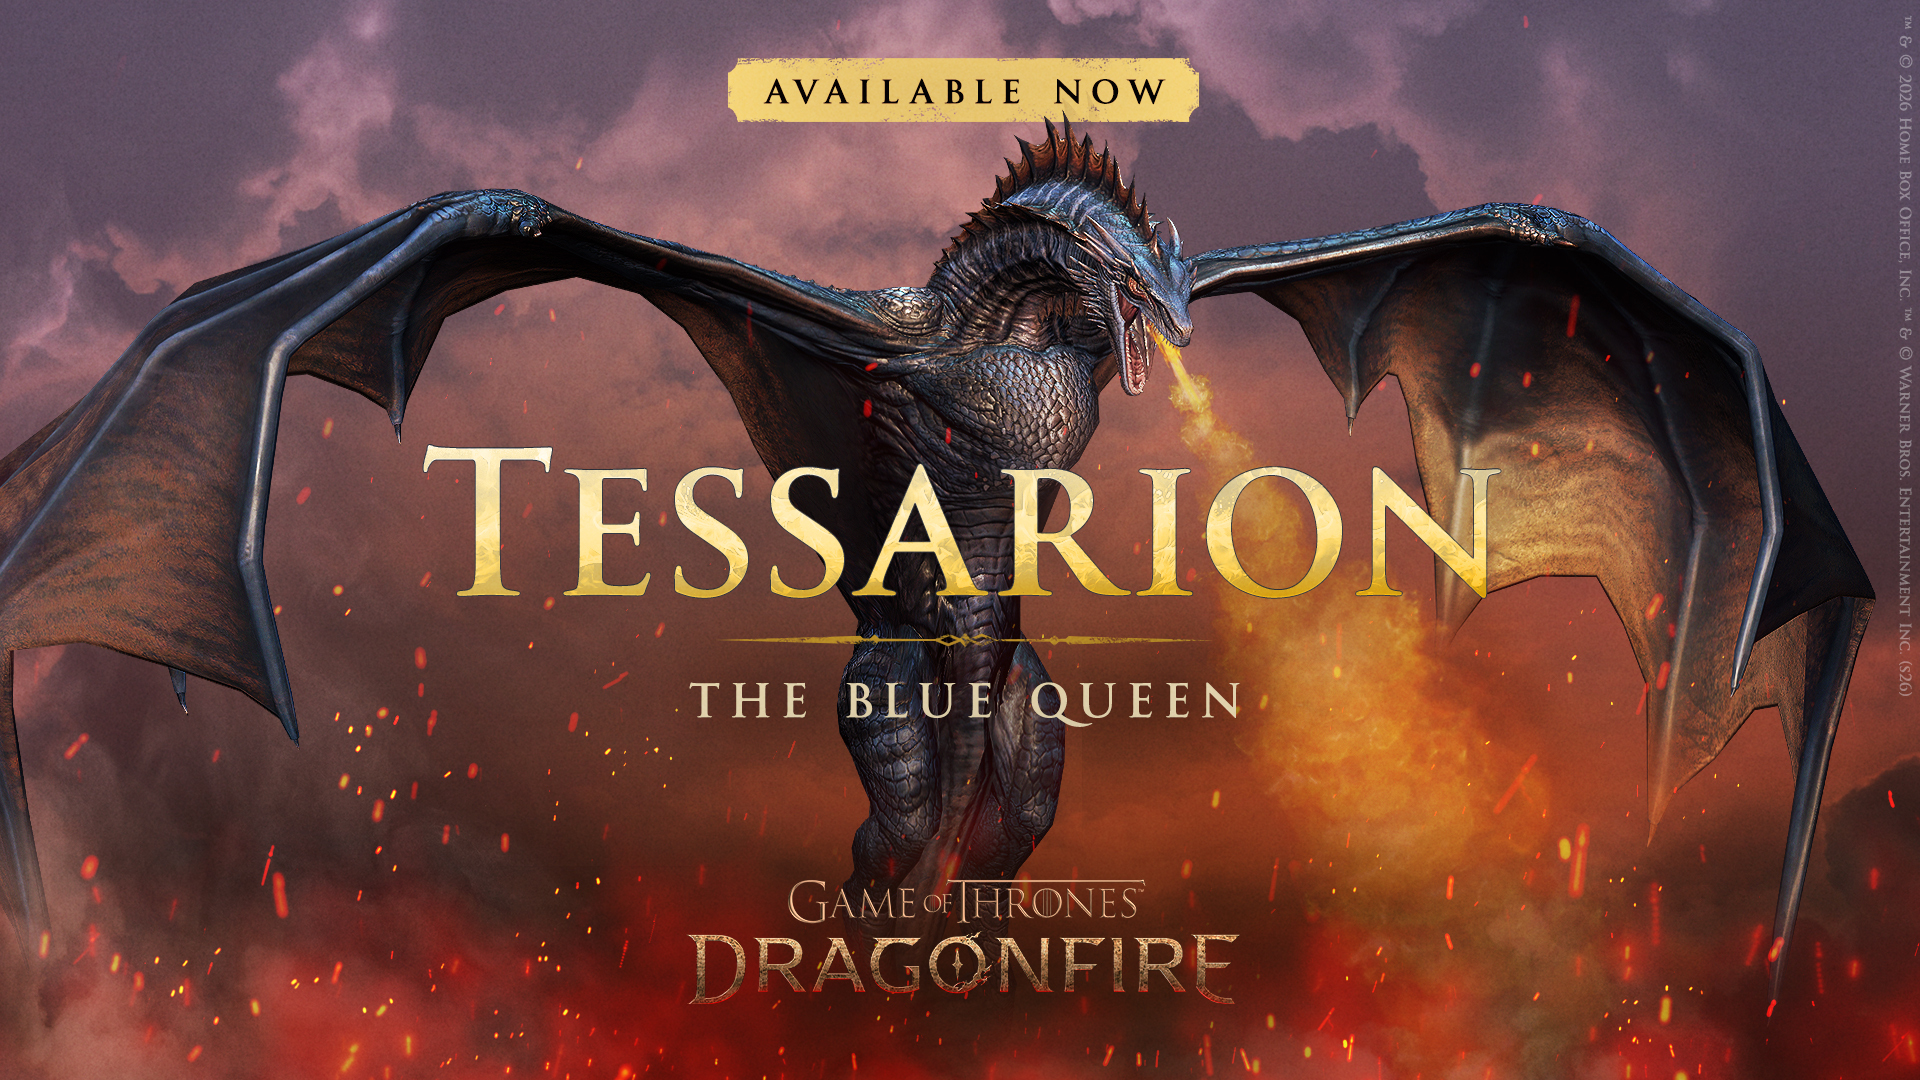
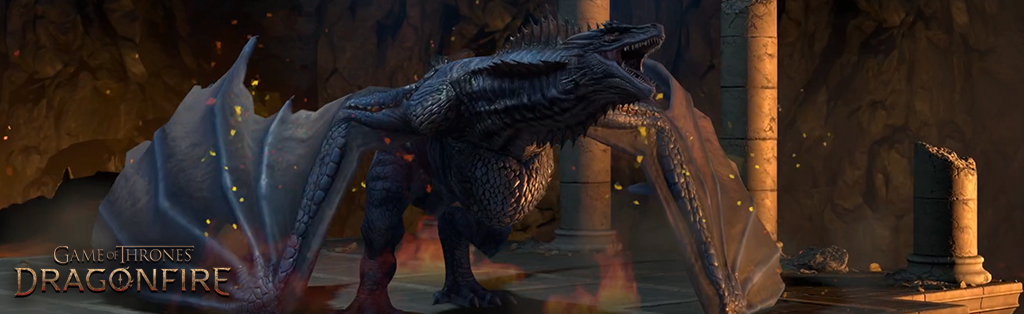
The Blue Queen gleams like stormlight caught beneath cobalt glass, her wings flashing bright and brilliantly against the smoke of war. Beside the ancient terrors of Dragonstone, she is no less feared, for her flame burns hot enough to turn armor into molten stars.
Bound to Daeron Targaryen, she has flown not just as a beast of blind ruin, but as a banner given wings: swift, disciplined, and terrible when called. Where she descends, courage rises among allies, and dread settles over foes, for the Blue Queen is beauty sharpened into battle.
Today, let us dive into the newest dragon to be introduced to Game of Thrones: Dragonfire: Tessarion.
Gameplay Details
Tessarion is an offensive support Epic Champion who empowers fire-focused allies while punishing physical-oriented enemies. Built around maintaining battlefield stability, she rewards teams that can keep her healthy and in control of the fight.
She applies steady pressure through both fire and physical attacks, weakening key threats by reducing their damage output. This pressure helps preserve allied momentum with protection against incoming physical damage.
Tessarion performs best in compositions built around strong fire damage dealers. Amplifying primary fire damage dragons through repeated offensive buffs, intelligence support, and survivability tools. While contributing mixed-damage pressure of her own, she thrives in battles where her team can maintain high troop thresholds, allowing her support effects to scale more reliably over time.
When playing with Tessarion
Maintain early stability to amplify your army.
Tessarion performs best when your army stays healthy and maintains pressure.
Pair with strong damage dealers
Her buffs are most effective when applied to dragons with high Command and Habit damage.
Play around with timing and coordination
Consistent pressure and timing maximize her impact.
Abilities
Tessarion’s Commands aim to empower fire-focused allies while punishing physical-oriented enemies. Take note of the following Commands and Habits and use them to your advantage!
Command: Cobalt Flame
Rounds 1, 4, 7
Deal Fire Damage to 1 enemy in any lane (prioritizes enemies that deal Physical Damage, excluding Basic Attacks). Additionally, there is a chance to reduce the target’s Damage Dealt for 2 rounds. Double this effect if the target deals Physical Damage (excluding Basic Attacks).
Rounds 3, 6, 9
Deal Physical Damage to 1 enemy in the same lane.
Habits
Habit 1: Sharpened Beauty
Each Round: Increase your Physical and Fire Damage Dealt until the end of the round. Double this effect if you are above 75% Troop Capacity or if you have Advantage.
Habit 2: Blazing Leader
Start of Combat: Increase Fire Damage Dealt of 1 ally in any lane until the end of combat. (Prioritizes Left Flank)
Habit 3: Molten Armor
Start of Odd-numbered Rounds: Chance to increase your Fire Damage Dealt and reduce the Physical Damage Received of 2 other allies. If you are afflicted with Panic, also reduce your Physical Damage Received. Each effect lasts for 2 rounds.
Habit 4: Clever Maneuver
Start of Combat: Increase the Intelligence and Initiative (enhanced by Instincts) of the ally with the highest Intelligence.
Habit 5: The Blue Queen
Start of Each Round: Chance to reduce the Damage Received and increase the Intelligence (enhanced by Intelligence) of 1 other ally that deals Fire Damage for 2 rounds. Double the Damage Received reduction and Intelligence increase if you are above 75% Troop Capacity.
A Guide to Dragons
Caring for one’s dragon is a remarkable feat. Over many years of training, Elder Angar had learned the secret arts of hatching that had been closely guarded by only the most trusted in Targaryen service. Now he passes that knowledge to you.
Want to learn more about how to improve all your dragons? Dive into detail about how to hatch and grow your dragons to become formidable foes throughout the seven kingdoms through our Guide to Dragons!
Welcome to our Guide Hub! Here, you can find guides, our glossary, and a link to some common questions about Game of Thrones: Dragonfire, the newest strategy and roleplaying game based in the world of House of the Dragon.
Though, perhaps, you may see changes you don’t expect as you become more familiar with the world and characters here in Westeros.
A Stronghold is the center of your capabilities in Dragonfire. This is where you can customize, build, upgrade, and train. Not only that, this is where your dragons lie, awaiting to be sent out to conquer new territory in your quest to conquer Westeros.
In our Stronghold Guide, we go over all of the buildings currently available, from your Upgrades, to the Dragon Pit.
Caring for one’s dragon is a remarkable feat. Over many years of training, Elder Angar had learned the secret arts of hatching that had been closely guarded by only the most trusted in Targaryen service. Now he passes that knowledge to you.
Our dragon guide dives into detail about how to hatch, grow and prepare your dragons for battle as they become formidable foes throughout the nine kingdoms.
While perusing the combat map in Westeros, players may have come across strange tiles that are different from the usual resource tiles. Ruins, harbors, and perhaps even Seats of Power. These are Points of Interest, special locations and tiles on the world map that may bring you benefits on your conquest for King’s Landing.
Our Map of Westeros guide will discuss game tiles, Points of Interest, Territory Influence, what they have to offer, and how to take them for your gain.
As you play Game of Thrones: Dragonfire, Campaigns offer you a path into the heart of Westeros, playing through epic scenarios that shape the realm’s future.
Our Guide to Campaigns will dive into the technical specifics of Reigns, Campaigns, and Stages. What you retain throughout reach reign, and what resets when you enter the next stage of your Worlds lifecycle.
Our Guide to Heirlooms dives into the specifics of the Heirloom system and how you can properly invest in the stats that will follow you from one reign into the next.
Our introduction guide to Factions & Alliances dives into what Factions are, how to join an Alliance, and the benefits that come with sticking by those most loyal to your cause.
Your dragon’s star level that can be retained between campaigns. The higher Star Rank your dragon is, the bigger they’ll grow, the more stats they receive, allowing them to unlock new Habits!
Reign Level
Your dragon’s Reign level determines how many troops you can attach to your army, and how powerful your dragon can become.
Dragon Relics
Shards of Rare, Epic, and Legendary rarities that are used to hatch new dragons and increase that dragon’s Star Rank.
Breedmarks & Rarity Cores
Items that can be used to upgrade a dragon’s Habits. Both are needed to upgrade a habit, and each is dictated by a dragon’s Breed and Rarity.
Dragonbone, Dragonglass, or DragonfireKeys
Items that open Dragon Chests, in which you receive Dragon Relics from.
Commands
Specialized abilities that dragons can use during combat, which have a chance to activate randomly during each round of combat. A dragon’s Command is directly related to their Star Rank and the amount of Dragon Relics you have collected.
Troops
Troops support a dragon in combat. When a dragon runs out of troops, it is forced to retreat back to your Stronghold or garrison.
Troop Affinity
Affinity is a trait assigned to each dragon for each of the five troop types (Cavalry, Shieldbearers, Archers, Spearmen, and Siege). It determines how well a dragon pairs against a specific troop type.
Troop Type Advantage
Determines how different troop types perform against one another in battle: • Cavalry > Shieldbearers • Shieldbearers > Archers • Archers > Spearmen • Spearmen > Cavalry • Siege troops are weak to all troop types but deal increased damage to Durability.
Defenders
Non-player troops placed on a tile that guard Points of Interests or resources.
Durability
Tile health that is weak to Siege Troops.
Strongholds
A player’s city that provides access to the Throne Room, Barracks, Upgrades, and the Dragon Pit. This is the central base where you can build, upgrade, and train units.
World Map
Map that shows the entirety of Westeros.
Tile Map
Also known as the combat map, this is where a majority of tile interactions can be done.
Tile
A single hexagonal coordinate on the tile map.
Resources
The name for Food, Wood, Stone or Iron. These can be collected via resource tiles, events , the Stronghold via upgrades or via the Store.
Resource Tile
A level two or higher tile that provides a specific resource.
Fields
A level 1 resource tile that provides a small smattering of all resources.
Impassable Tiles
Tiles that armies cannot move to or claim. but can path across when marching to an appropriate tile. • Mountains • Water • Coastal Cliffs • Natural Landmarks (ex. Rushing Falls, Hollow Hill)
Territory
The total number of tiles a player owns or has the capacity to own.
Kingdoms
Westeros is divided into 9 Kingdoms. Each Kingdom is ruled by a Great House, has a capital city, and is made up of a select number of Regions.
Regions
A collection of tiles associated with a specific Kingdom and Seat of Power.
Factions
A group of allies who fight beside you. Work together to capture Seats of Power and complete key Campaign Goals and Stage Objectives.This will indicate where you begin your journey, and who your direct foes will be, as well as your potential allies.
If you’re in an Alliance, your Leader will decide which Faction you belong to.
Alliance
A smaller group within a faction of your closest allies. You can create your own Alliance or join an existing one.
Seat of Power
A special Point of Interest when claimed will give a faction control over a Region.
Capitals
A more powerful Seat of Power, associated with the appropriate Great House.
Reign
An event arc, or season, that takes place over the course of a couple of months. When a Reign ends, and a new one begins, with it comes a new Campaign, events, and opportunities.
Campaign
The story in which you will go through over the course of a Reign.
Campaign Goals
Long-term goals and Quests that all players across a World will attempt to complete over the course of a Campaign.
Campaign Stages
Quests that guideplayers towards objectives throughout a Campaign.
Join us on Discord to get involved with the Community and talk directly with our development team!
“I hear you treat your soldiers like kin. Warm meals, steady pay, words of praise. An odd indulgence. Armies don’t fail when courage breaks. They fail when the barracks run dry, and there’s no one left to bleed.” – Rodrick Blackthorne
Factions and Alliances are the backbone of your success in Game of Thrones: Dragonfire. Let us dive into what Factions are, how to join an Alliance, and the benefits that come with sticking by those most loyal to your cause.
At the start of your first Reign, you’ll join a Faction made up of fellow players who fight beside you. You’ll work together to capture Seats of Power and complete key Campaign Goals and Stage Objectives.
You can select the Faction you prefer to be part of at the end of each Reign, though this is not guaranteed. This is to keep populations across your world equal, so every dragonrider has the chance to have exciting battles with enemies and allies alike. Selecting the Mercenary option will randomly place you in one of the provided factions, and gift you a select amount of gold.
Some Reigns may even feature new Faction Leader characters to follow! Team up with regional allies to capture Seats of Power and complete large-scale tasks for top rewards!
Curious about Campaigns and Reigns? Read through our Guide to Campaigns!
Alliances
Once a Campaign has begun, you can join forces with players in your Faction to gain powerful advantages and build lasting bonds! Join or create an alliance to celebrate victories and achieve more together than you could alone!
Not only are you able to defend each other’s tiles and strongholds, but only players part of Alliances can hold docks, tunnels, and towns. These strategic sites unlock powerful control of the map and allow other players in your alliance to share those tiles for adjacency or to station armies on them.
Alliances are persistent across Reigns, allowing dragonriders to carry a team identity and legacy forward. Factions will always fluctuate, but your Alliance will remain secure.
Note: Alliances are limited to players in the same World and Faction. When a new Reign begins, your Alliance Leader chooses which Faction you’ll fight for next.
Create or Join an Alliance
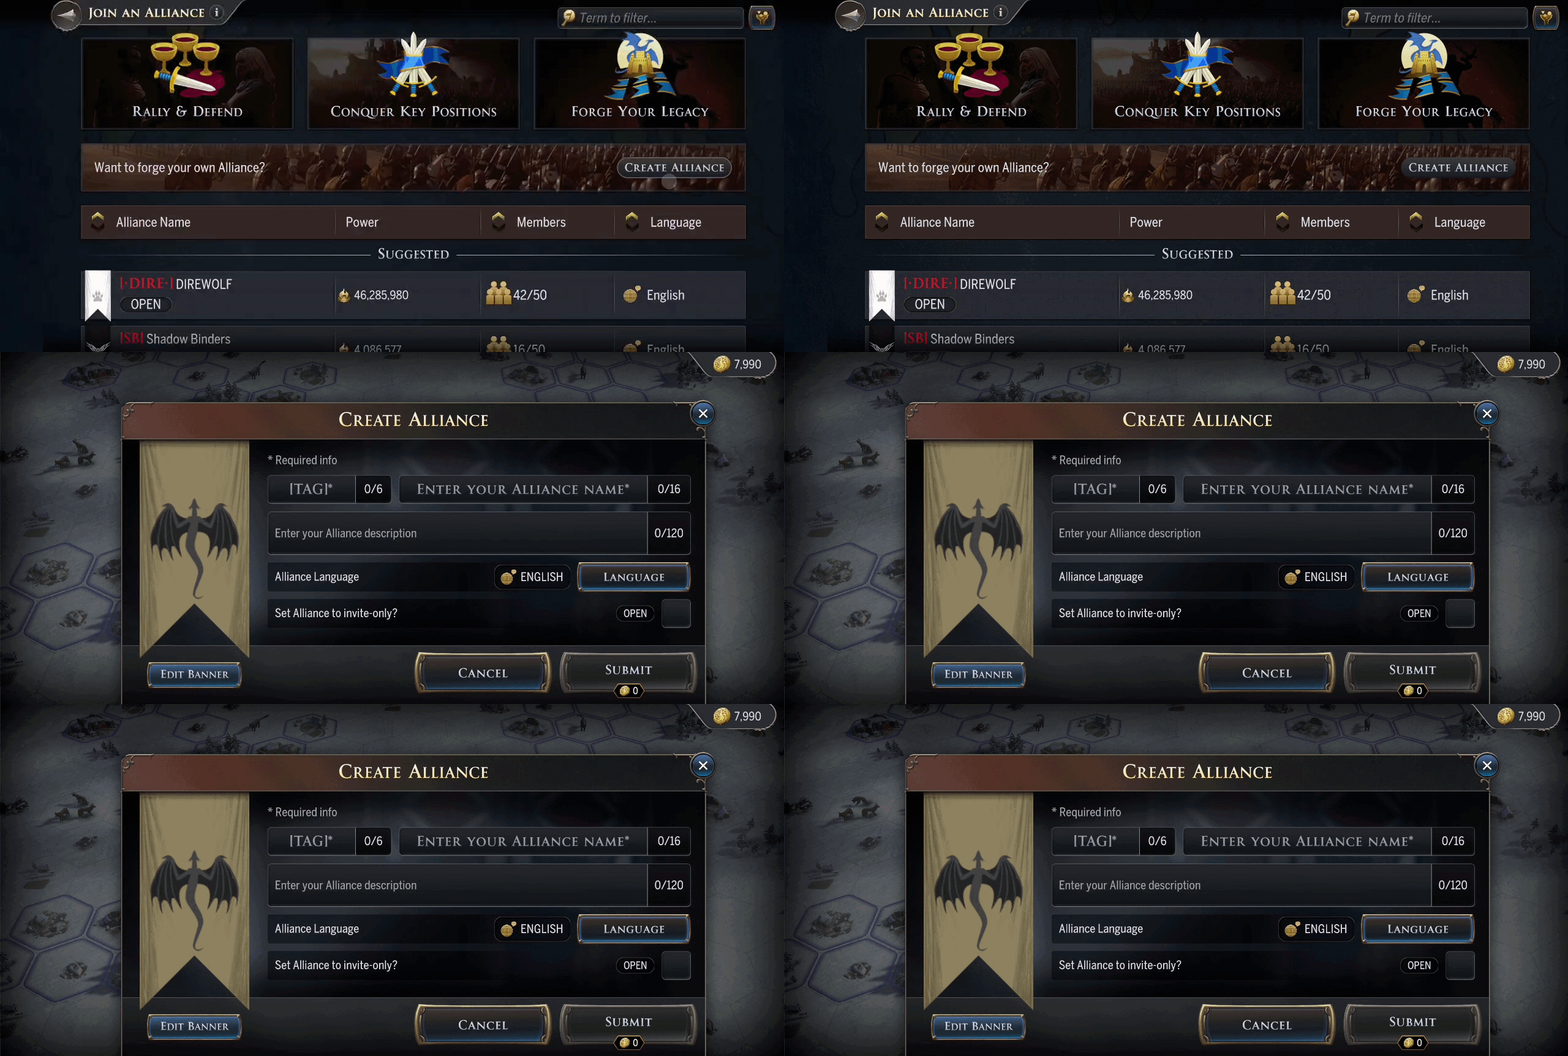
Spend Gold to create your own Alliance and shape its identity. Choose a name, description, banner, and the primary language your group will communicate in. Decide if your Alliance is open to all players or invite-only, then watch as new members join your ranks!
If you want to join an Alliance, use the Alliance Finder to see suggestions based on your World and Faction.
Open Alliances – Join instantly.
Invite-Only Alliances (Closed) – Apply and wait for approval. You can also message the leader to strengthen your case.
Once accepted, you’ll gain access to Alliance Chat, where you can coordinate, strategize, and connect with your new allies.
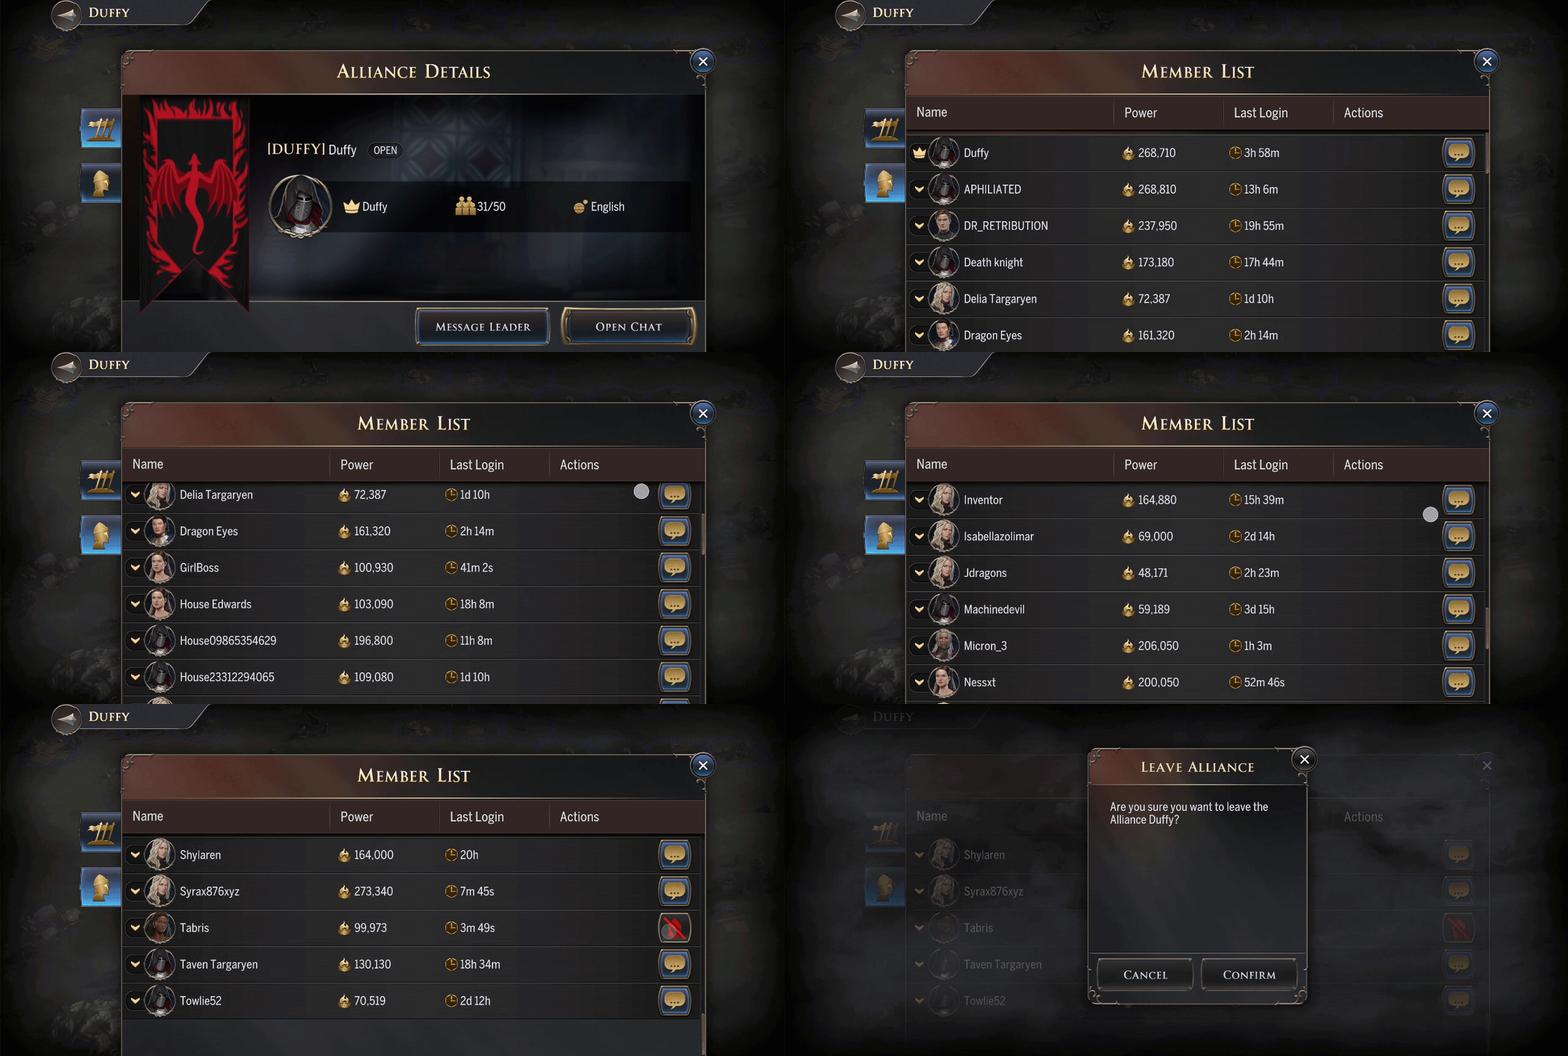
To leave an alliance, scroll through your alliance list until you find your stronghold and tap the red icon.
Positions
When you first join an alliance, you will be labeled as a noble. This title grants no additional permissions other than access to the alliance itself.
Councilors are alliance members who have been granted the ability to invite and kick alliance members as needed.
Wardens are alliance members who have been granted all the permissions a Leader can do, but cannot grant the Warden title. However, they may be able to grant Councilor and Noble titles as necessary.
Leaders are the creators of your alliance. They can grant all permissions and can kick and remove alliance members at will.
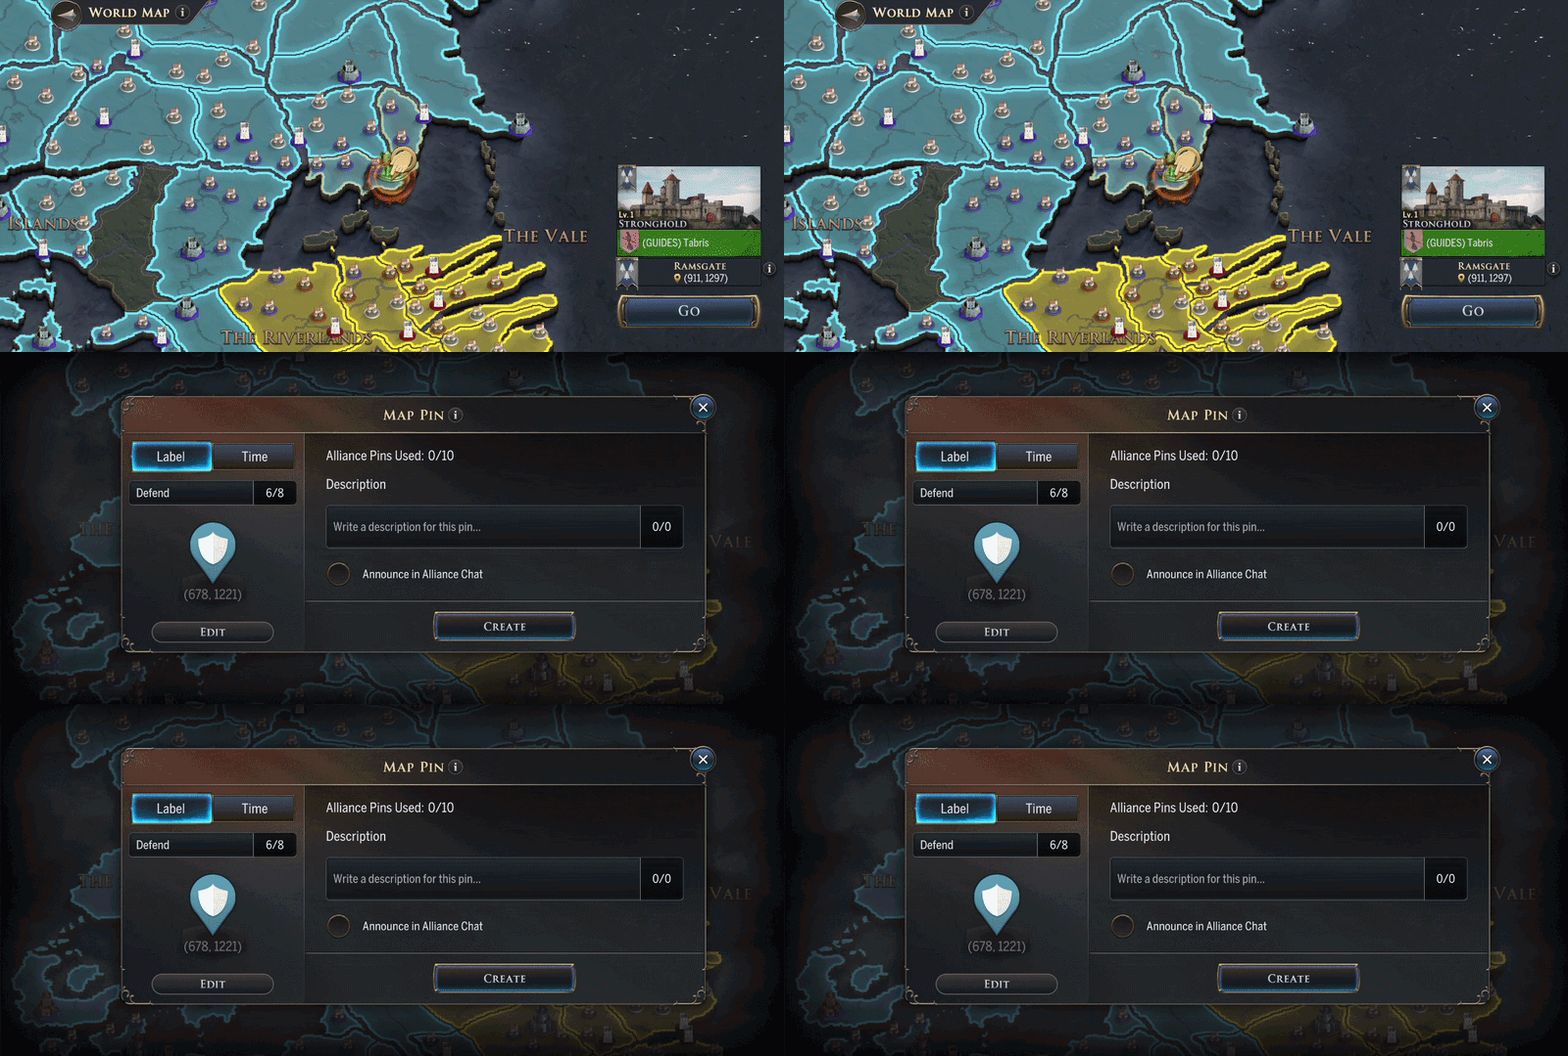
Councilors, Wardens, and Leaders can create a maximum of 10 Map Pins per Alliance to use on the Combat and World Map. Direct other members of your alliance to selected locations and customize the description, icon, and the time your alliance should arrive at a pinned location.
You can invite new nobles to an alliance through a player’s profile! Invited players must visit the Allegiance panel to receive the notification, so you may wish to notify highly sought-after Dragonriders of your invite through direct message.
Leave an Alliance
Looking to leave an Alliance? Go into your Alliance Details, select the members list and scroll down until you find yourself in the list. Tap the red tab next to your name to leave.
Take note, once you leave an alliance you will trigger a 1 hour cooldown before you can join another.
Usurp
Leaders are not immune to a mutiny.
As a Warden, Councilor, or Noble, you are empowered to unseat an alliance leader who neglects their duties. If a leader has been idle for 72 hours or more, players within the alliance can begin the process to Usurp control.
The leader must return within 24 hours once a mutiny has commenced, otherwise they will be usurped and lose their position. Wardens will then have 24 hours to claim the title of leader, followed by any Councilors 24 hours after. Failing any Wardens or Councilors claim the position, all alliance members will have a claim to the title. You can locate the ‘Usurp’ option within the Alliance Member Panel once a leader has been idle for 72 hours.
Looking to find friends in another faction or world? Join our Discord, and view the 🖋️#recruit channel to take note of who’s looking for active members!
“War is no game, and treason cannot go unaddressed.”– Otto Hightower
Heirlooms are perhaps some of the most strategic upgrades you can maintain as you make your way through the kingdoms of Westeros. Let us dive into specifics of the Heirloom system and how you can properly invest in the stats that will follow you from one reign into the next.
Heirlooms are permanent upgrade trees that allow you to invest in powerful stat improvements that can follow you from one reign to the next to strengthen your Stronghold over time. Gaining access and continuously making use of these permanent upgrades requires strategic planning, as your House Level determines which Heirloom upgrades are active.
Currently, there are two Heirlooms available.
Dragon Growth focuses on dragon growth, effectiveness, and dragon-related stats.
Realm Expansion focuses on economy and territory expansion.
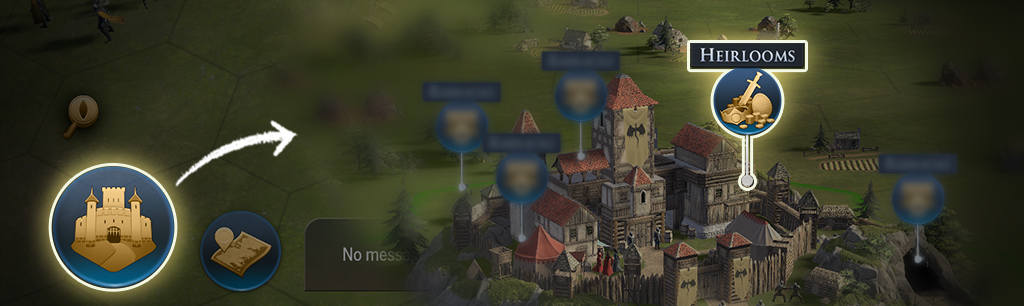
Tap the ‘Heirlooms’ icon within your Stronghold to view the Heirlooms currently available to upgrade.
How it Works
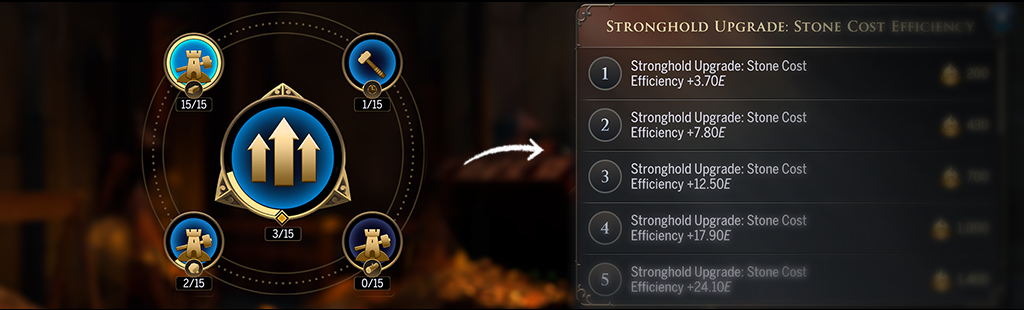
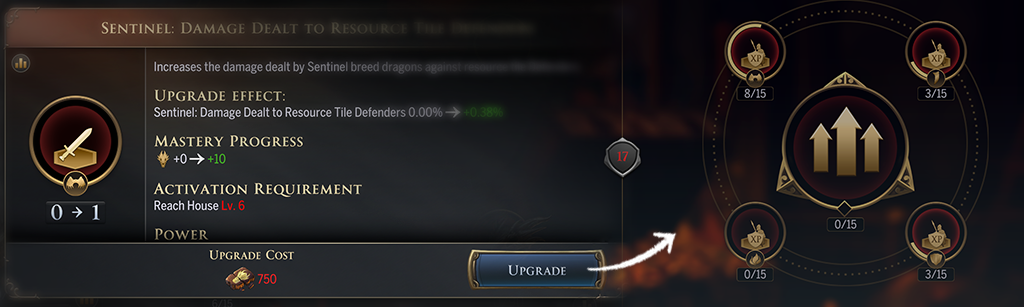
Each Heirloom tree contains many upgrades, all of which you can invest into at any time in any order you would like. Each Upgrade increases a certain stat based on how many Upgrade Ranks you have invested to increase its effectiveness.
To properly upgrade these trees, you must first collect the appropriate currency to unlock a specific upgrade.
Runic Fragments can be earned upon defeating select monster encounters upon the combat map such as Hedge Knights.
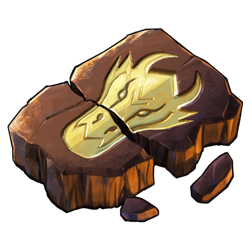
You will often find Valyrian Tablets in rewards associated with your team, like Alliance log in rewards or progressive Event rewards
Dragon Lord Scrolls can primarily be found by holding Dragon Lord’s Sanctums on the combat map. This is a special Point of Interest that must be claimed in order to earn the currency. They can also be found in other in-game locations.
Amplifier Seals can be found by holding higher level nodes on the combat map. These seals are required to upgrade Amplifiers that increase the value of Heirloom upgrades that orbit them.
Amplifier
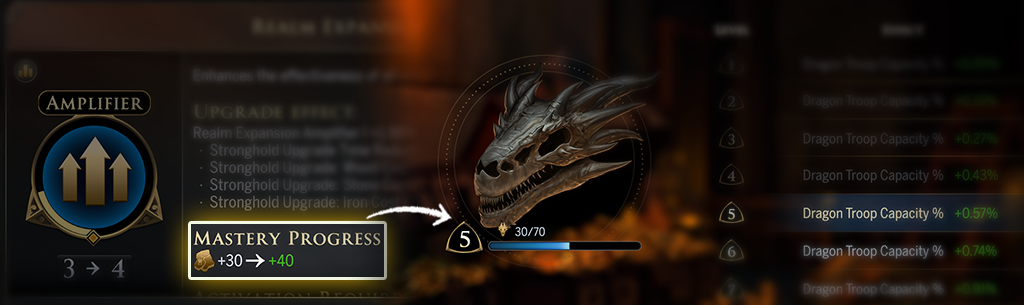
At the center of every group is a special Amplifier that enhances the effectiveness of all connected Heirloom Upgrades.
Every amplifier Upgrade Rank will increase the stat of the orbiting upgrades by the Amplifier’s percentage stat. Unlike other Heirloom Upgrades, Amplifiers require Amplifier Seals.
House Level
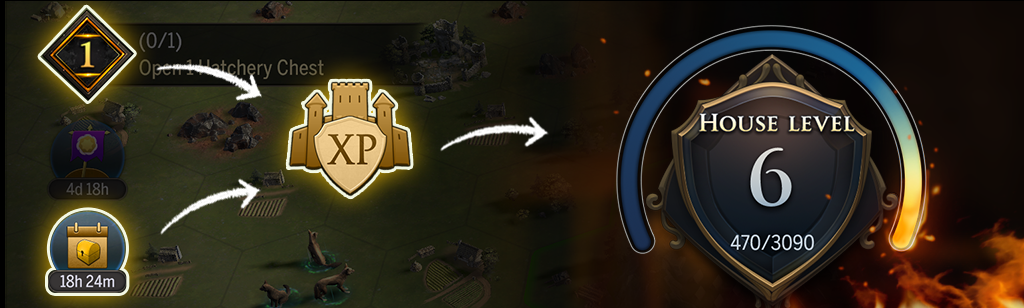
Your House Level determines which Heirloom Upgrades you benefit from after being unlocked. The higher your House Level, the more Heirlooms that you can benefit from. You increase your House Level by collecting House XP. Earn XP through Chapter Quests and Events.
Your House Level is seasonal and resets at the beginning of every Reign. While unlocked Heirloom Upgrades carry over, you must achieve a higher House Level in order to activate the buffs from any Heirloom Upgrades you had acquired in a previous campaign.
You can also invest in Upgrades before you have the required House Level for activation. These unlocks immediately apply once you reach the required House Level.
Mastery
Each Heirloom Upgrade Rank grants a permanent Mastery bonus, that is active regardless of House Level. This bonus grows stronger as you purchase more Upgrades in a specific Heirloom and persists at all times throughout each reign.
Make use of this progress to level up your power appropriately!